Date and Time: 09/19/2016 2:30 pm
Location: My apartment, 529 W 111th Street
Subject: Storing the sourdough starter
Stored the sourdough starter in the fridge.
Name: Emma Le Pouésard
Date and Time: 09/23/2016 3 pm
Location: My apartment, 529 W 111th Street
Subject: Research - recipes in the BnF and bread recipes in John Evelyn
3 to 4 pm:
Started by looking at the recipes in bnf 640 on folios 140v and 156r:
Bread molding recipes in the BnF
<div>
<id>p140v_1</id>
<head>
Pour gecter en <m>soufre</m></head>
<ab>
Pour gecter nettement en <m>soufre</m>, acoustre la <m>miette de<lb/>
pain</m> soubs le brasier comme tu sçais. Moules en ce que<lb/>
tu veulx & laisse seicher & tu auras ton ouvrage fort net.</ab>
<ab>
<margin>left-top</margin>
Essaye le <m>soufre</m>,<lb/>
passé par la <m>cire</m><lb/>
fondue, pource qu'il<lb/>
ne s'enflamme plus<lb/>
& ne faict plus d'oeillets.</ab>
</div>
<id>p140v_1</id>
<head>To cast in <m>sulfur</m></head>
<ab>
To cast neatly in <m>sulfur</m>, arrange the pith of <m>bread</m> under the brazier, as you know. Mold whatever you want into it & let it dry & you will have very neat work.</ab>
<ab>
<margin>left-top</margin>
Try <m>sulfur</m> passed through melted <m>wax</m>, because it will no longer ignite & and make eyelets.</ab>
</div>
<div>
<id>p140v_2</id>
<head>
Mouler et rapetisser une grande<lb/>
figure</head>
<ab>
Moule le avecq <m>mie de pain</m> venant du four ou co{mm}e la<lb/>
susdicte, & en se seichant il s'apetissera, & par consequent<lb/>
la medaille que tu y gecteras. Tu <del>luy></del> peulx, par ce<lb/>
moyen, en allongeant ou eslargisseant la miette emprainte,<lb/>
varier la figure & d'un visage en fayre plusieurs<lb/>
tous divers. Le <m>pain</m> venant du four est meilleur. Et<lb/>
celuy qui est deulx fois recuit se retire dadvantage. Tu<lb/>
peulx gecter le <m>soufre</m> sans laisser seicher l'empraincte<lb/>
du <m>pain</m>, si tu la veulx mouler aussy grande qu’elle est.<lb/>
Mays si tu la veulx laisser apetisser, fais la seicher<lb/>
ou plus ou moings.</ab>
</div>
<div>
<id>p140v_2</id>
<head>Molding and shrinking a large shape</head>
<ab>
Mold it with the pith of bread just out of the oven, or like that aforementioned, & in drying out it will shrink & consequently so will the medal that you will cast. By these means - lengthening out or enlarging the imprinted bread - you can vary the shape & from one face make several different ones. The <m>bread</m> straight from the oven is best. And the one which has been heated twice contracts more. You can cast <m>sulfur</m> without letting the imprint on the <m>bread</m> dry, if you want to cast it as large as it is. But, if you want to let it shrink, let it dry to a greater or lesser extent.</ab>
</div>
I settled on the recipes on 140v. I discovered that each helped make the other recipe clearer, for instance the line in recipe 2: “Moule le avecq mie de pain venant du four ou co{mm}e la Susdicte” clarifies the line in recipe 1: “acoustre la miette de pain soubs le brasier comme tu sçais” by making clearer that “under the brazier as you know” indicates a method to re-heat or make malleable the mie de pain so that you may mold it into the shape you wish more easily.
Having gotten a bit familiarized with the two recipes, both in French and in translation, I read the Annotation on “Sulphur and Additives.” This helped crystallize the process described on 140v, as the instructions (especially in the 1st recipe) are very sketchy, only saying to “mold whatever you want,” but not how to mold. From the Annotation, I saw that the experimenters scooped out hot mie de pain and imprinted their object in two halves, which they then separated and left to dry, having marked two corresponding points on the two halves to know how to fit them together for casting. The Annotation also prepared me for the differences I may observe when casting from a two-sided mold versus a one-sided mold.
With this preparatory work done with the manuscript recipes, I decided to make one one-sided mold and one two-sided one to see if I could observe the differences noted in the Annotation. I would have also liked to cast sulphur with bread fresh out of the oven so that it does not cool and constrict, but that will not be feasible this time.
4 to 5:30 pm:
Next, I looked at some bread recipes to reconstruct, and devised my protocol (which can be found at the end of these notes). I roughly transcribed the recipe for Pain Bourgois and for “the best Bread of France” in John Evelyn’s bread recipes. The recipes follow:
Pain Bourgois or Citty bread:
Take the 6th part of what quantity you intend to make, and put Levin into it; making a hole in the dow as you were directed. When your mass is risen, cover it with as much more flower as whether was at first, & leave it to rise againe. This ready, add to it the residue of your flower, tempering it with water, kneading, & allowing it time to rise in every particular [illegible] as has already been described. Note:
- The best wheat flower makes the best bread
- The newer also the bread is, the better
- The whiter the flower the less goodness in taste
- The closer it is wrought, so it be not heavy, the more heavy & nourishing
Pain de Gonesse
The best Bread of France:
There is of this both white and brown, & of all sizes: Take six bushels of flower (or a lesser quantity you please) of which put leven to a sixth part at eight a clock at night; then add as much more flower to it: this is called refreshing the leven: The next morning early, make your dow with the remainder of the meale but temper it moderately, or very little; then turne the dow, and put it in a wooden bowle sprinkled with flower to keepe it from sticking; & when ‘tis ready to set in the oven you shall turne it into another bowle that when ‘tis set into your oven with your [illegible] the right side may stand upmost.
The small light bread is made by taking the 6th part of the meale and instead of the leven, set it to rise with new yeast; and when it is swelled sufficiently, wet it againe, or worke it with another sixth part of the meale, & so let it rise for a second time; then temper it a very little, turne it & lay the loaves on a cloth with folds (as has been described) to keepe them from touching; & so coke them.
While reading these recipes, I came up with a list of considerations:
- Recipe 1 specifies neither how much flour nor how much leaven to use, leaving it up to the baker to ascertain how much is needed for the quantity s/he “intends to make.”
- Recipe 1 refers to “flower,” recipe 2 to “flower” in the first section and “meale” in the first and second. Recipe 1 includes a note that white flour leads to a poorer taste, while recipe 2 says both white and brown bread are made following the recipe.
- Both recipes 1 and 2 involve adding a 6th part of flower twice, letting the dough rise in between each time, to “refresh” the leaven. Recipe 1 does not qualify how much time to leave between the first two additions of the flour and the final one, though it specifies letting the dough rise. It also notes the dough should be allowed to rise in between each subsequent addition. Recipe 2 is very precise with time, specifying that the first two parts of meale should be added at 8 o’clock at night, with time left in between for it to rise, and that the rest of it should be added early the next morning. It seems to indicate adding the whole remainder of the dough at once the next morning, rather than in sections, as Recipe 1 appears to allude to.
- Recipe 1 specifies adding the remaining 4 parts of flour to the dough and kneading the whole with water before baking, though it does not specify baking instructions. Recipe 2 says to temper the dough when kneading – not specifying water, though it is implied – and then gives detailed instructions on how to use two wooden bowls to prepare the dough for baking.
- Recipe 2 requires an enormous amount of flower: six bushels!!! (or “a lesser quantity you please”). This quantity perhaps implies a commercial purpose for baking bread. In this light, the instruction to make the dough early the next morning (after it has risen) makes sense, as people buy bread in the morning.
Questions:
- Is the interchange between “flower” and “meale” in Recipe 2 significant? Do they mean the same thing? “Meale” implies a coarser texture – does this give insight into the nature of the flour used in the recipe?
- How much will my use of finely ground flour affect the outcome of the recipe? Given that the bread I am baking is intended for making a mold, and would therefore benefit from a smoother texture that would accept greater detail, can I excuse this substitution/possible anachronism?
- How much is the weather going to affect my outcome? Sourdough likes warmer temperatures to rise, and NYC’s weather has taken a dip this weekend. How much will this affect my dough? Comparing my dough to dough made earlier in the week might be useful.
Name: Emma Le Pouésard
Date and Time: 09/24/2016 6:30 pm
Location: My apartment, 529 W 111th Street
Subject: Feeding the sourdough starter and completing the night-time portion of the recipe for the "best bread of France"
Temperature: Fluctuating between high 60s and low 70s (Fahrenheit)
6:30 pm:
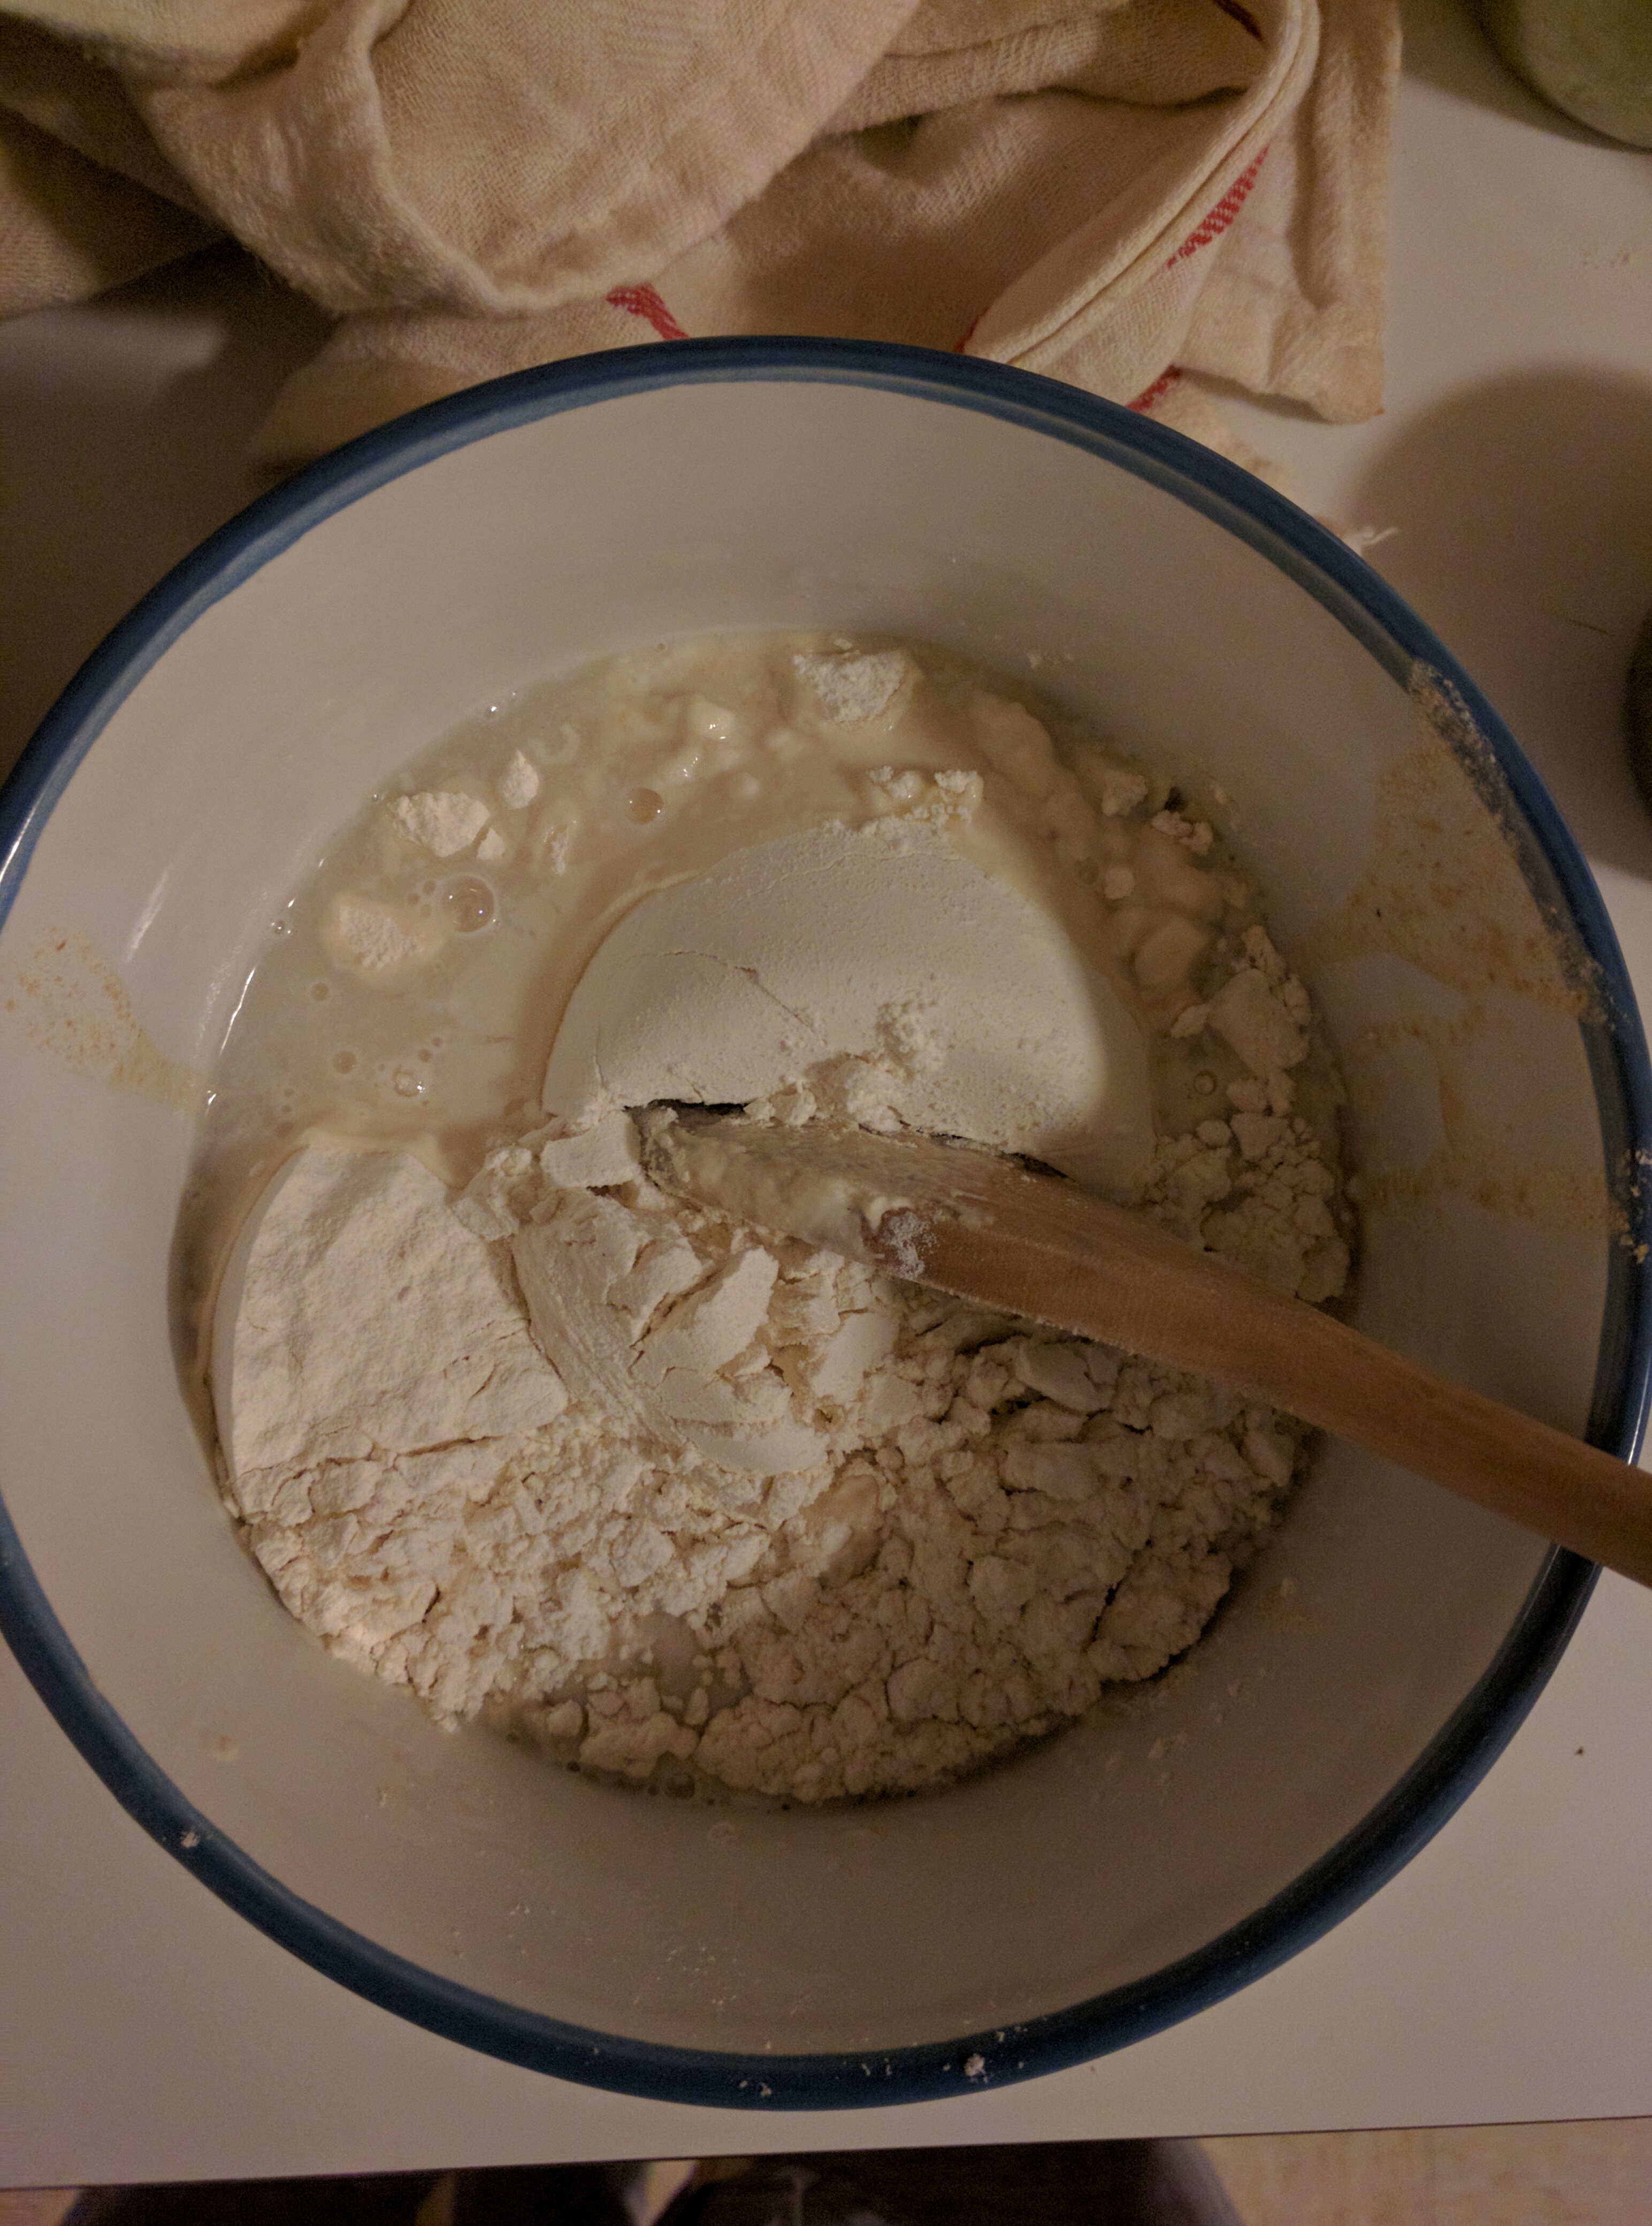
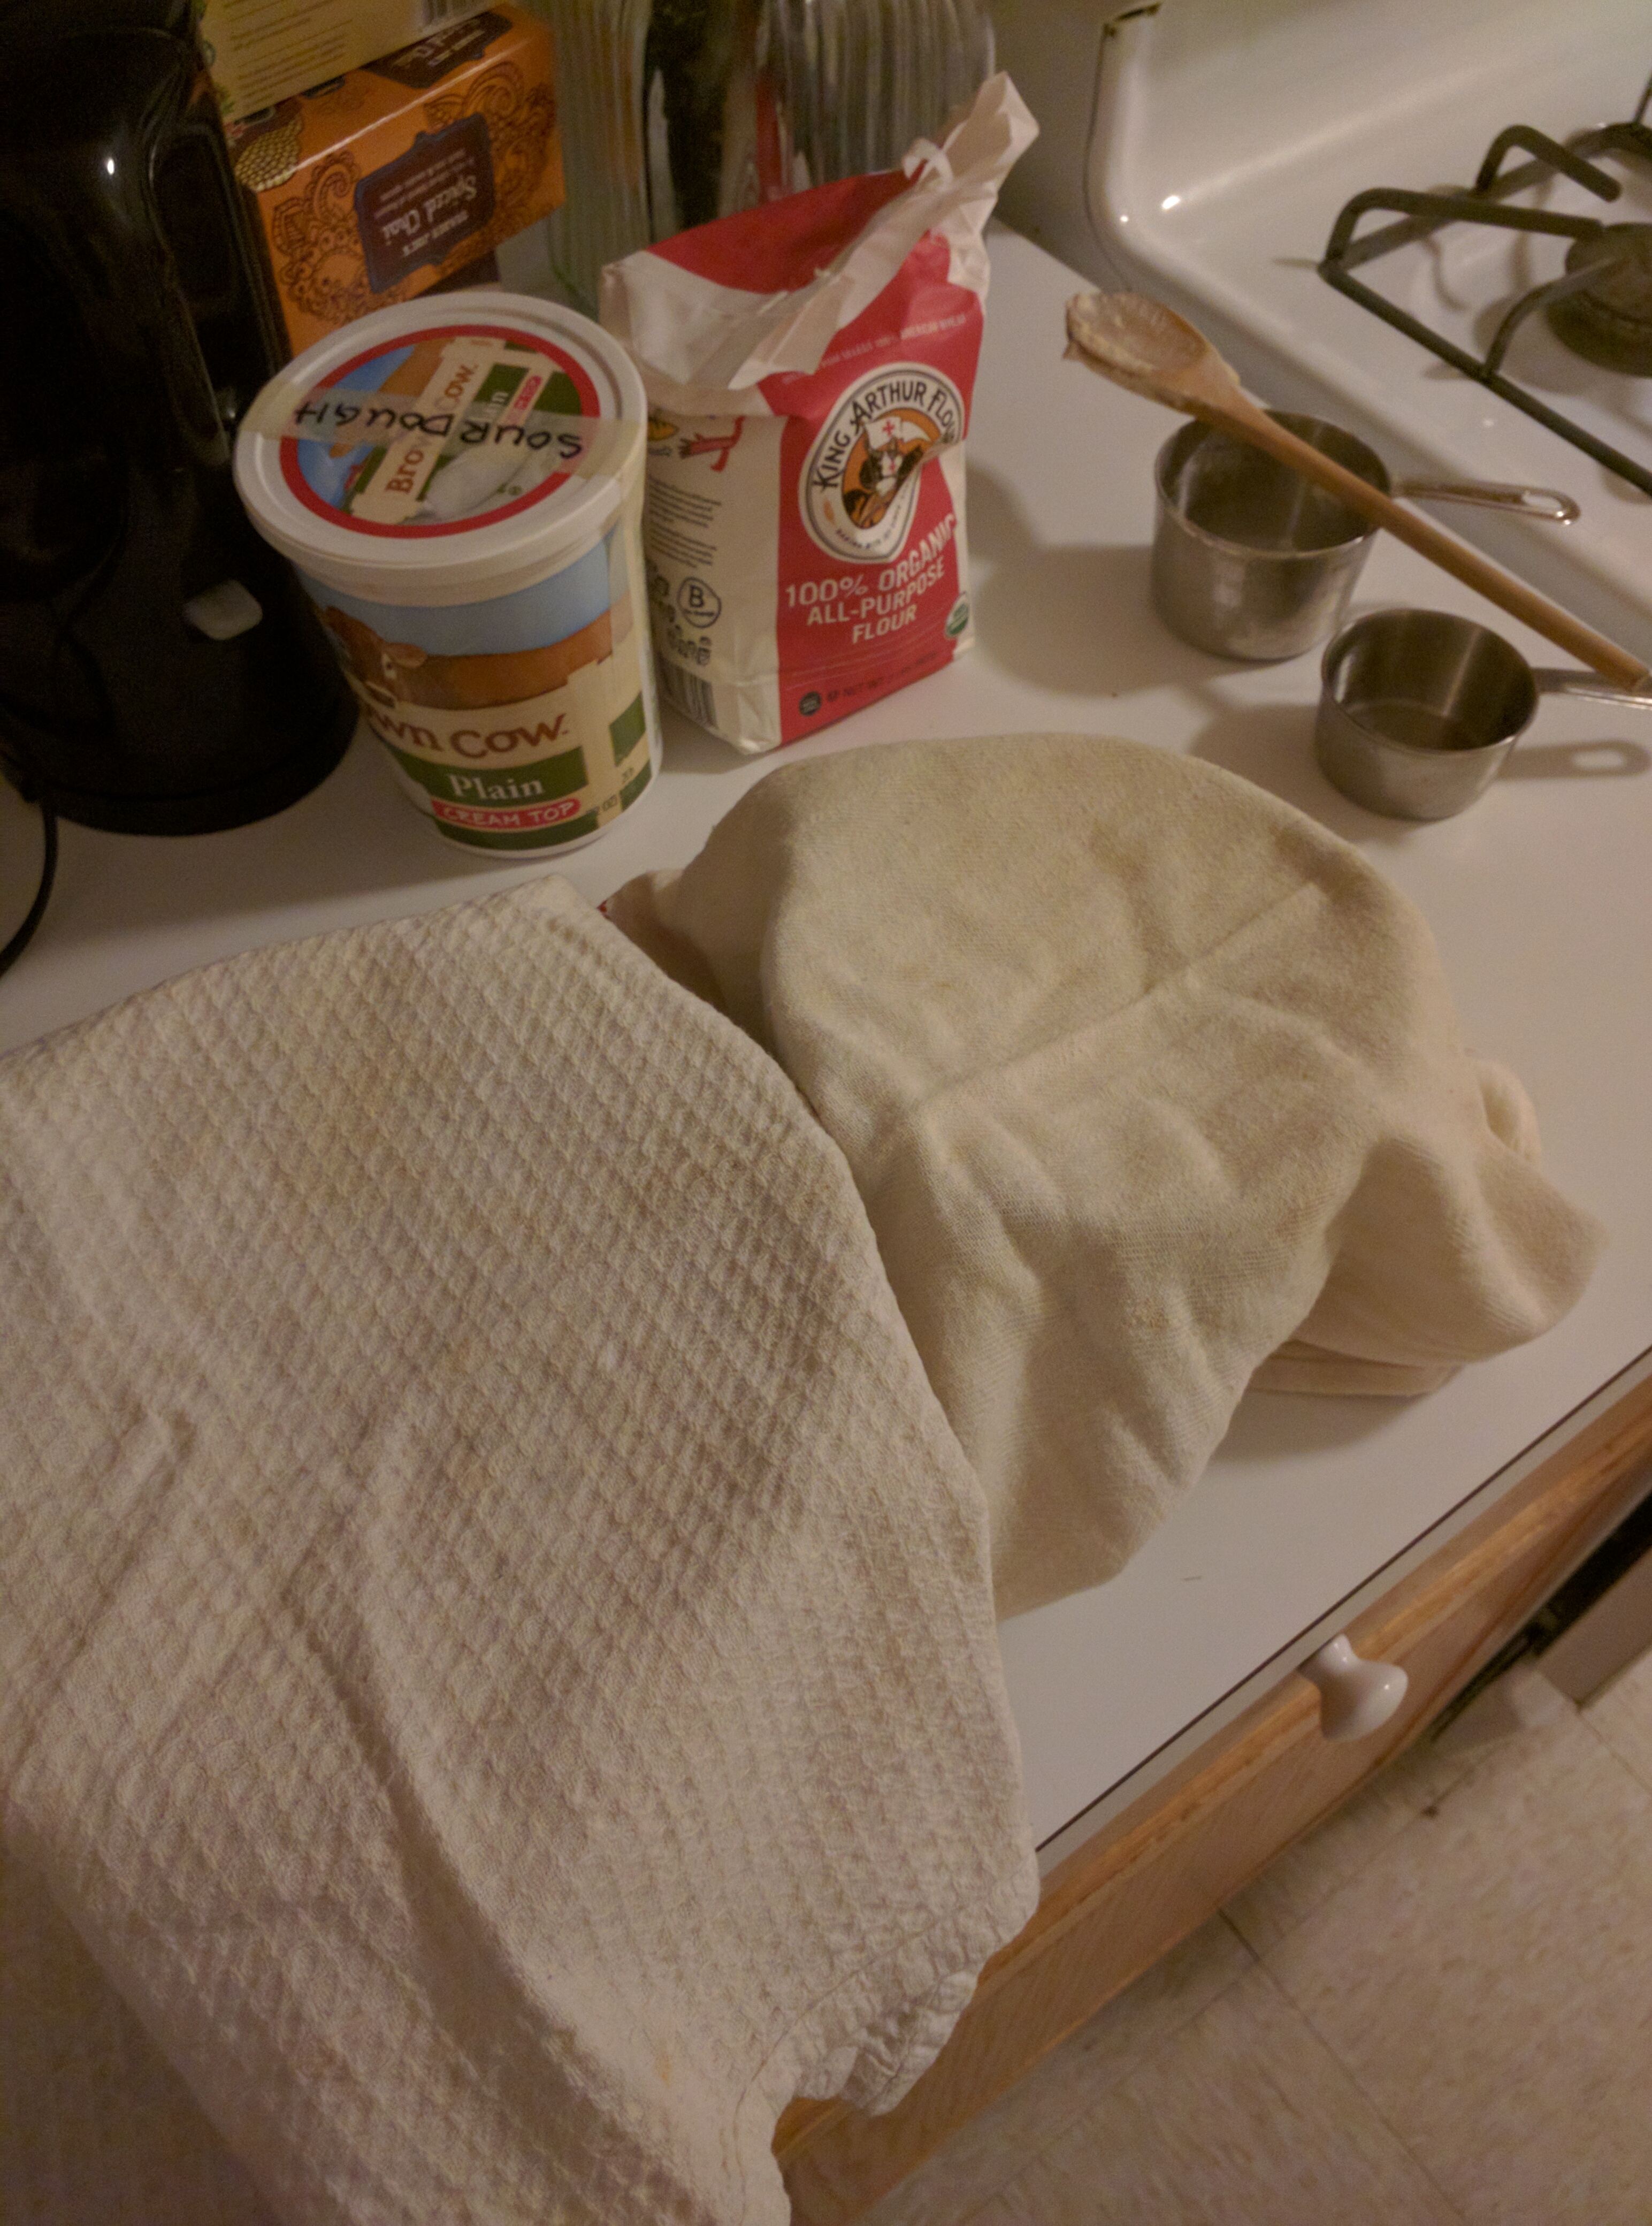
Took the sourdough out of the fridge, separated it into two halves and poured each in a bowl.
8:03 pm
Fed the sourdough by completing steps 1 through 5 of the procedure.
9:04 pm
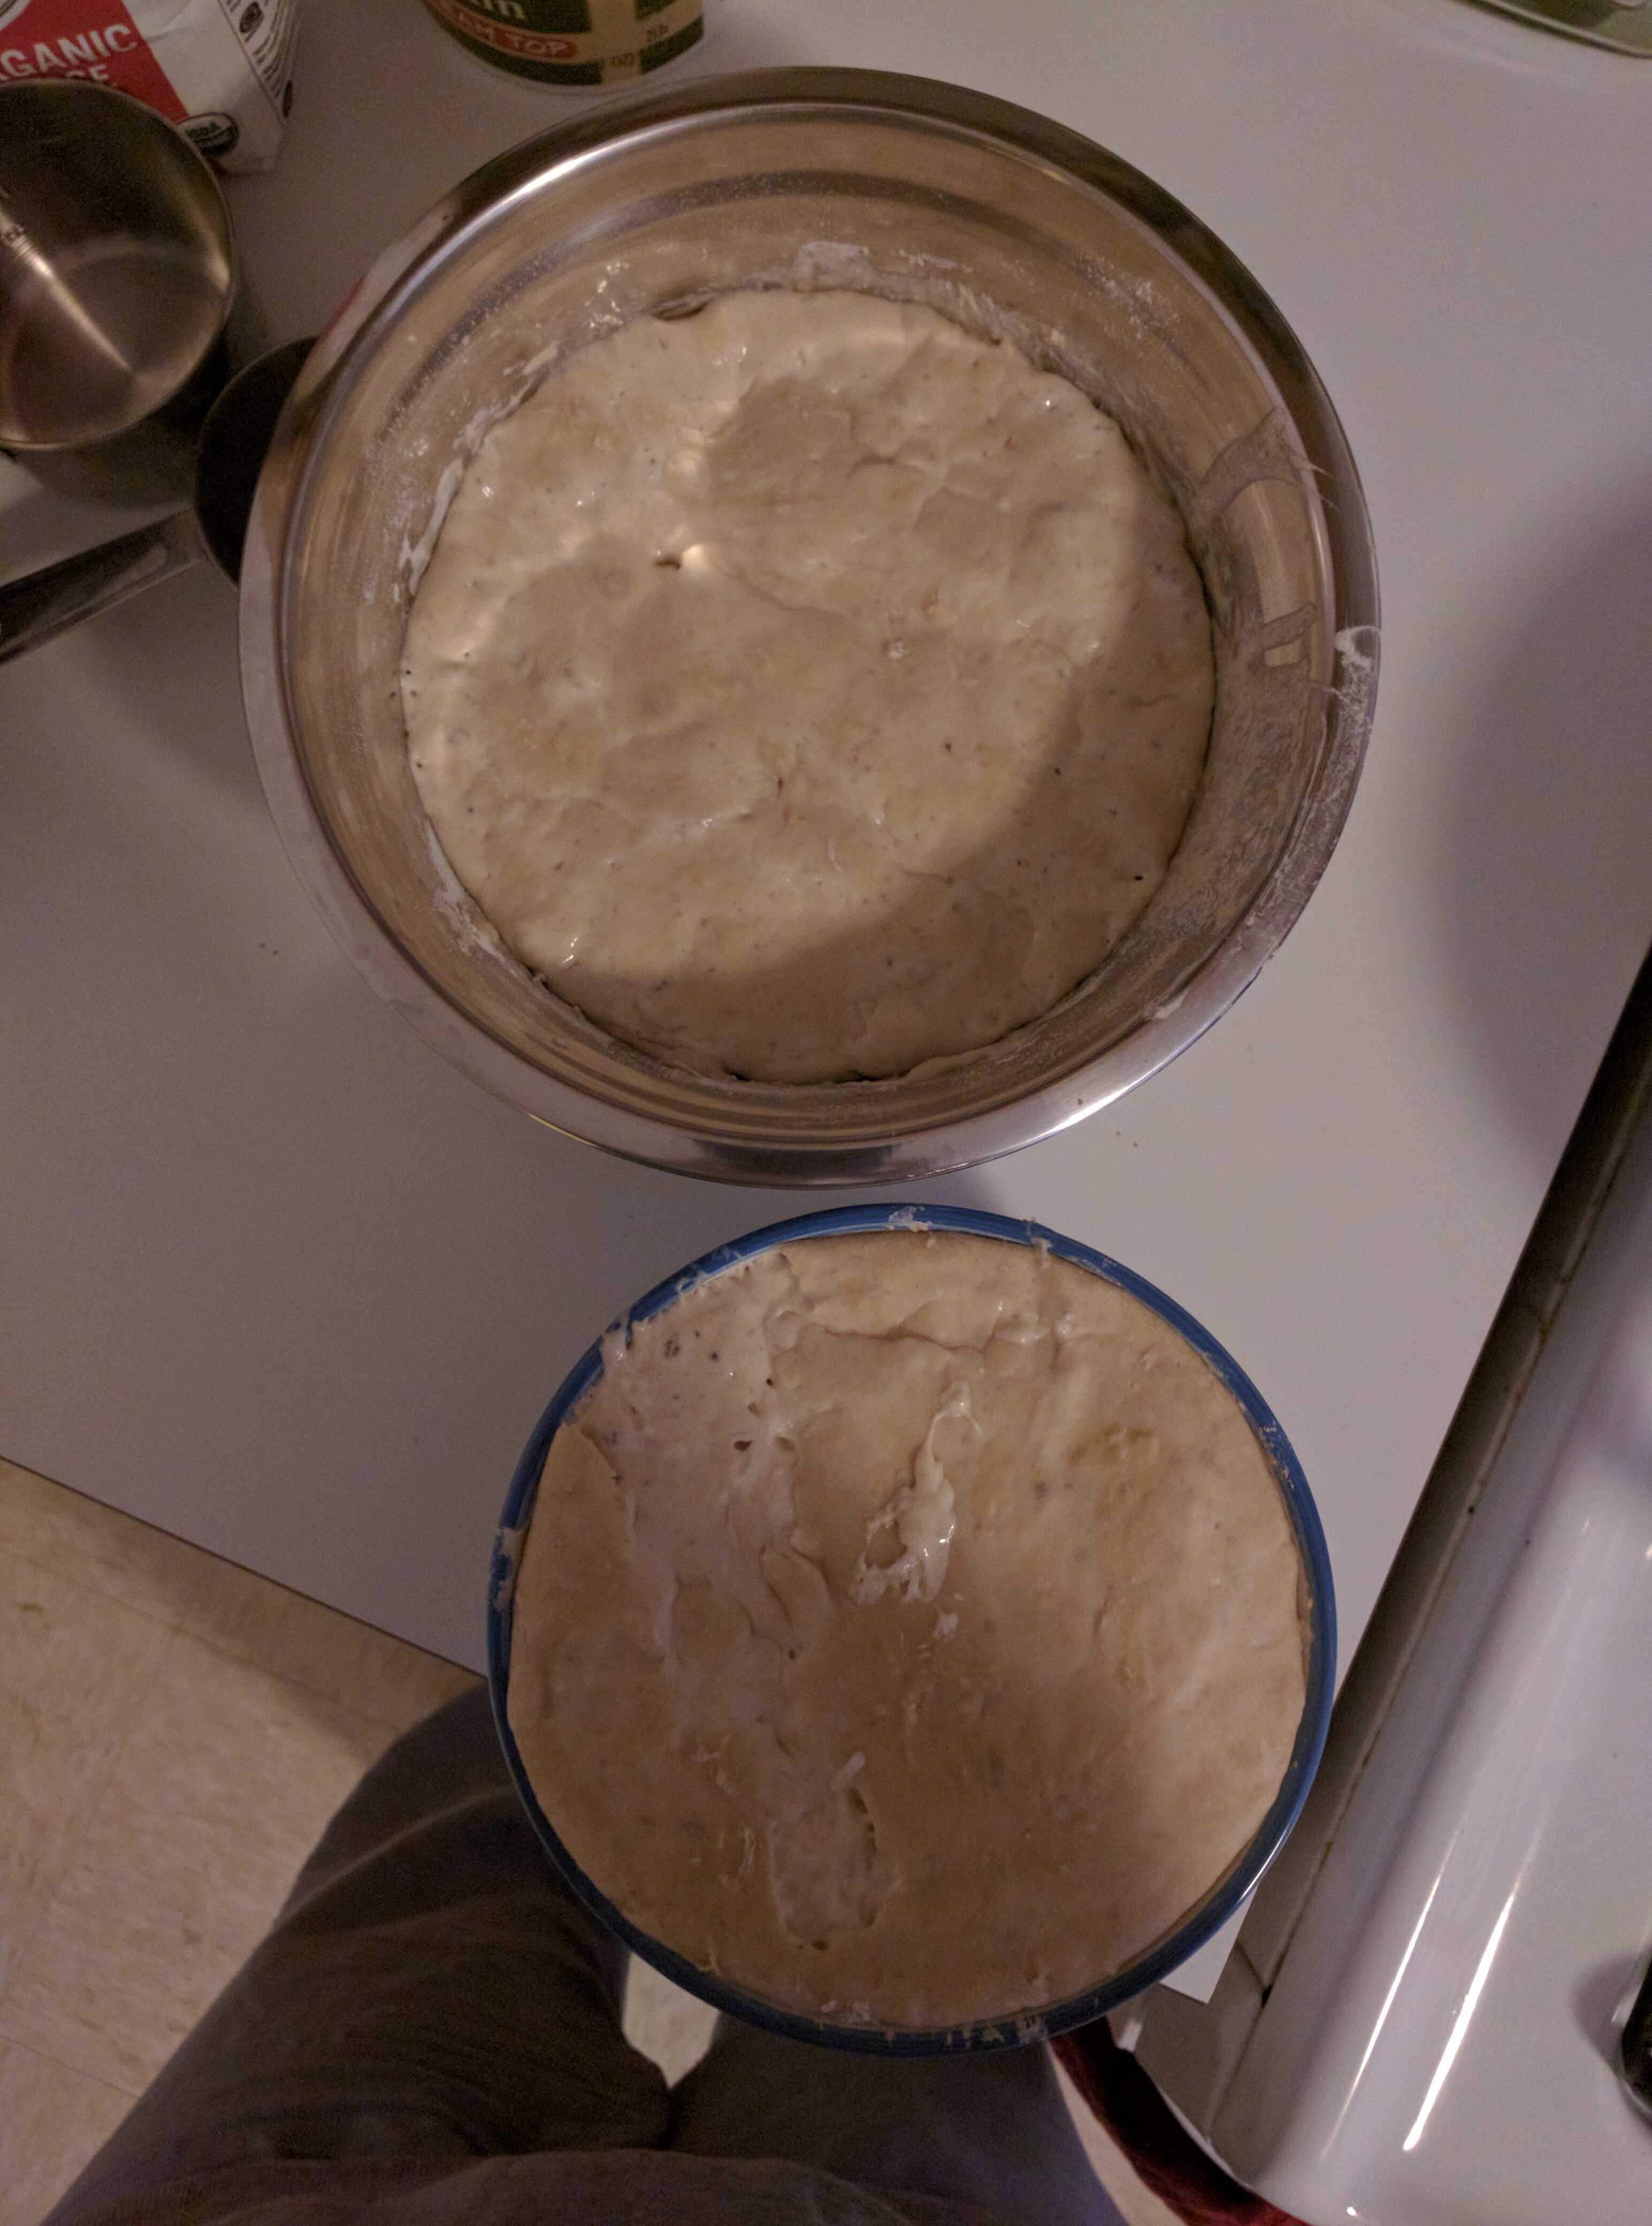
Checked the dough. No visible change.
10:02 pm
Checked the dough. Rose very slightly.
11:10 pm
Checked the sourdough. It had not risen much more than when I last checked, but I decided to feed it again as per the recipe and leave it to rise overnight. Completed steps 6 through 8.

Name: Emma Le Pouésard
Date and Time: 09/25/2016 12:15 am
Location: My apartment, 529 W 111th Street
Subject: Making the "best bread of France"
Temperature: Fluctuating between high 60s and low 70s (Fahrenheit)
12:15 am
Went to check on the bread, not much of a change yet.
8 am
Woke up quite tired from checking bread until midnight. Checked the dough. It had more than doubled in volume! Went to the store to get more flour. Completed steps 9 and 10.
After adding the first cup of flour the dough still felt very sticky so I did not use any water. The second made it slightly less sticky, but still the consistency and texture did not feel like ready-to-bake dough, so I did not add water then either.
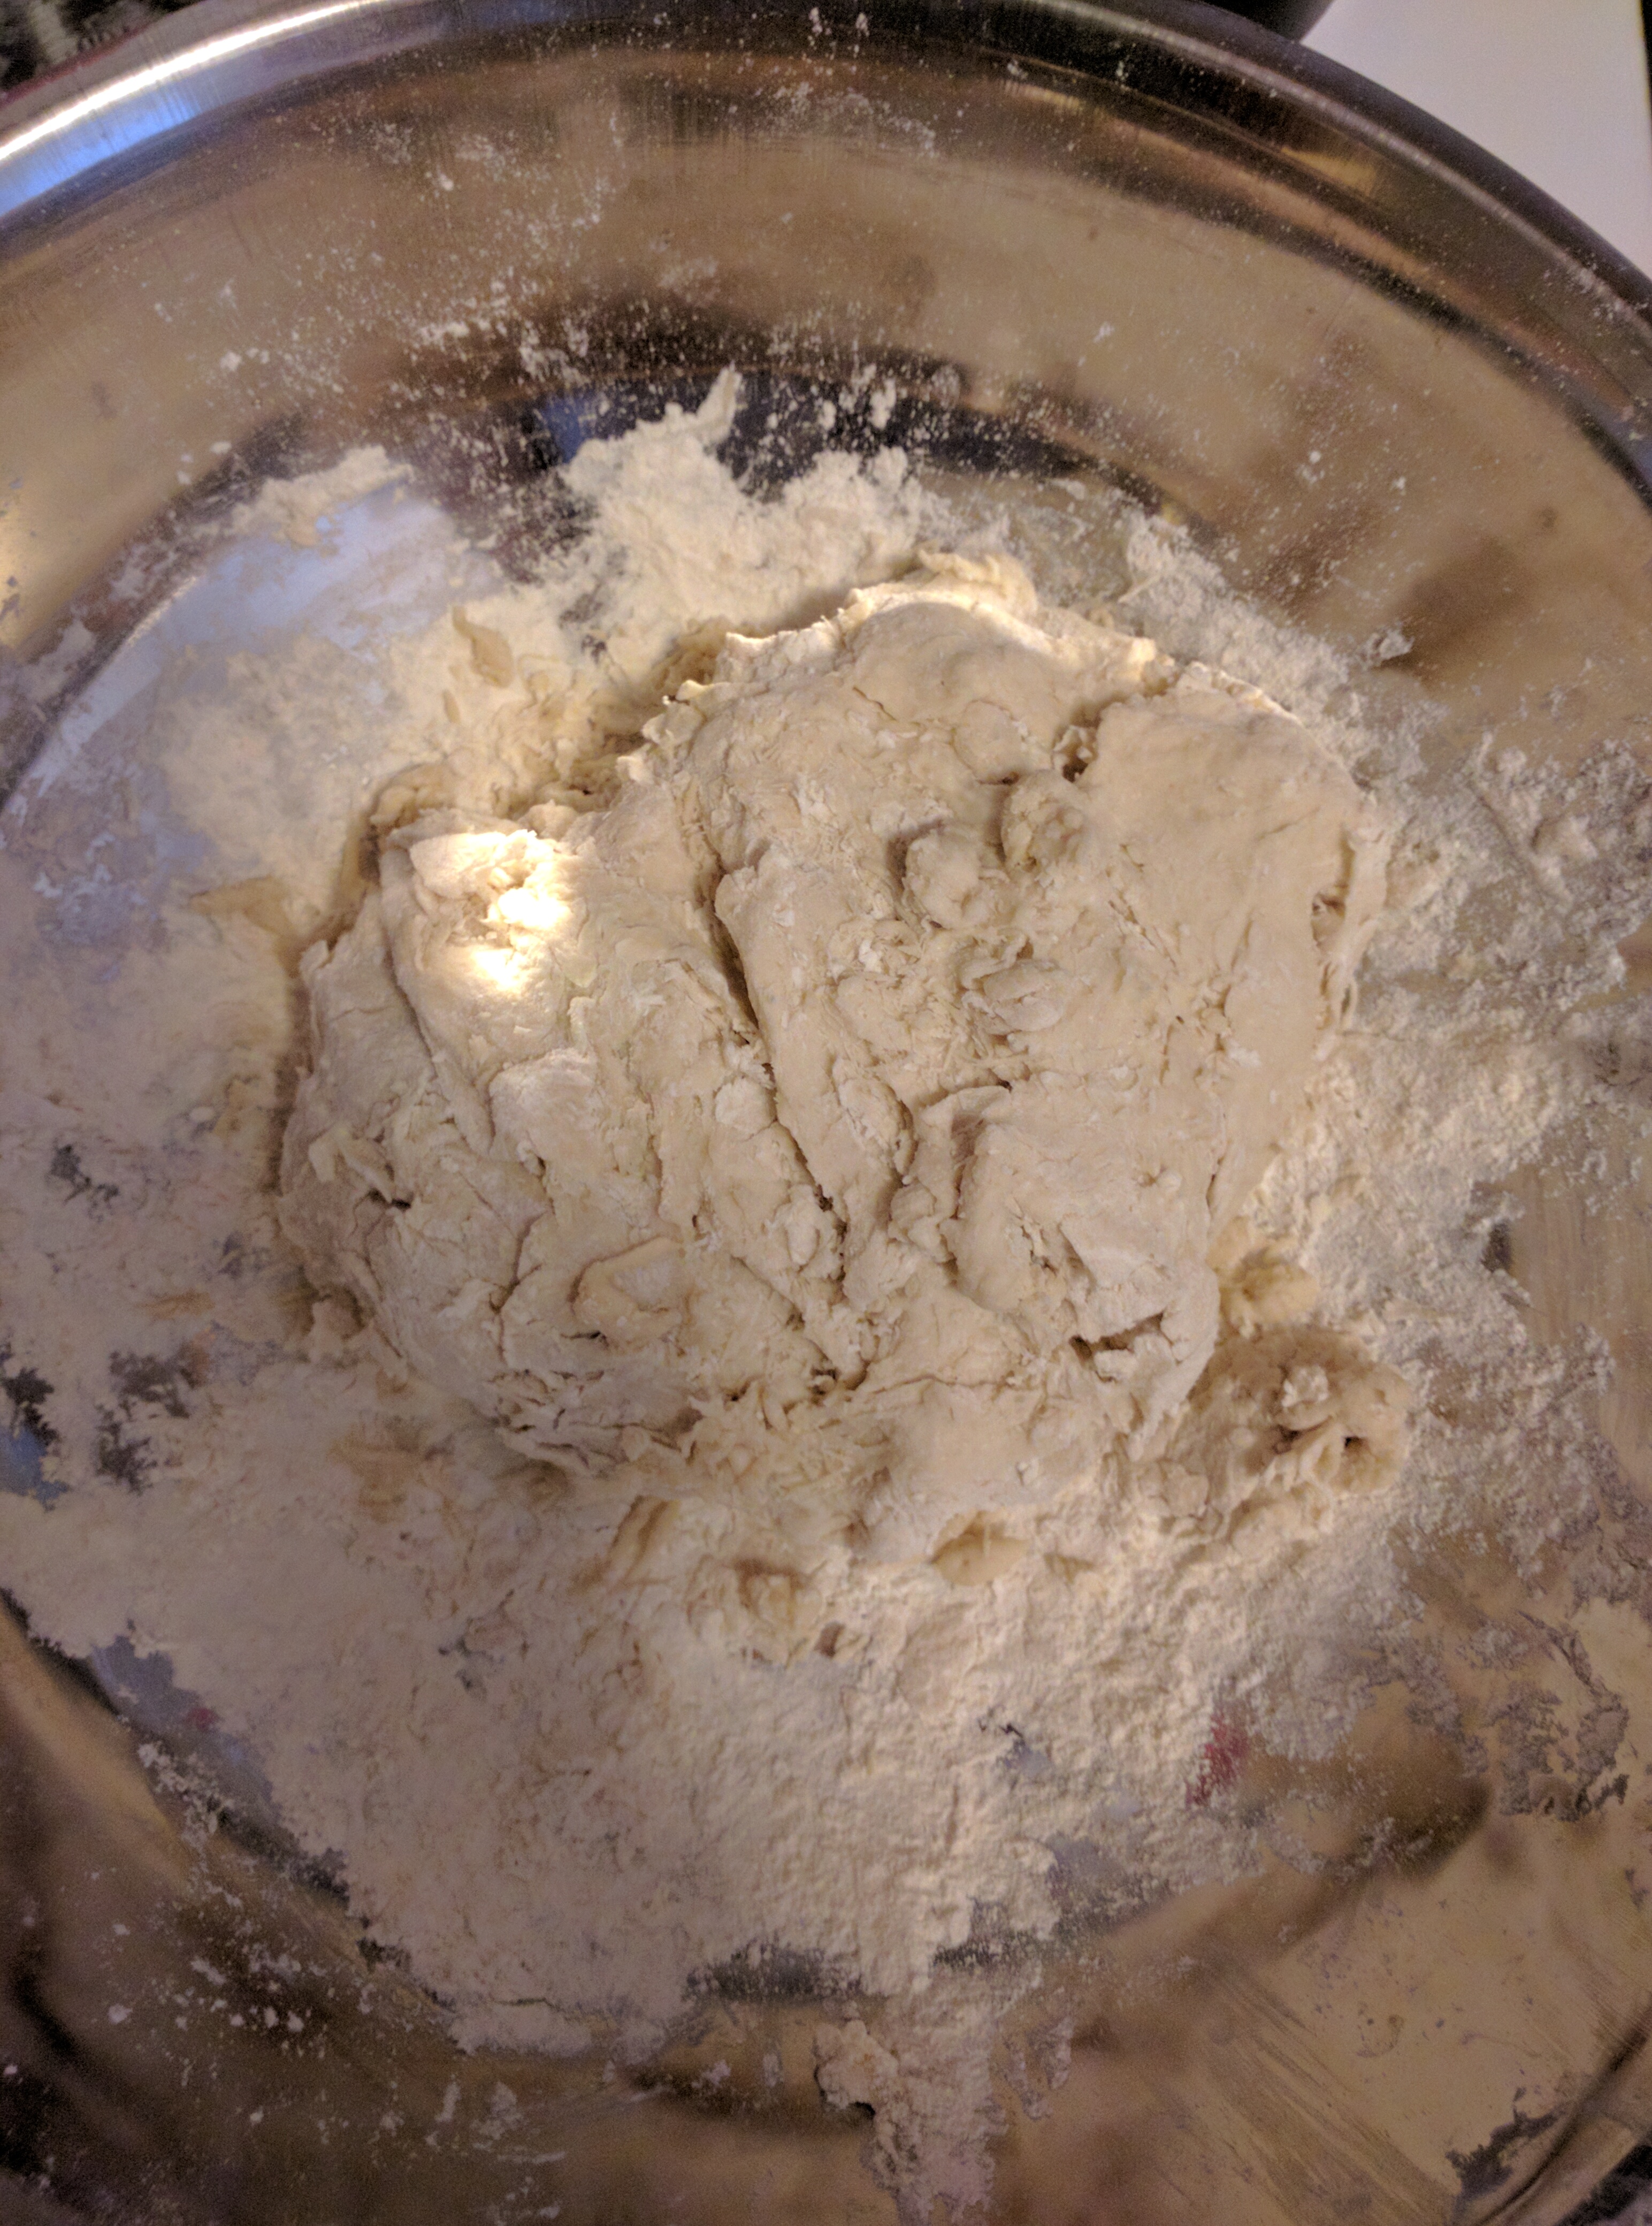
By cup three, the dough had stopped sticking to my hands, so I started adding in water by scooping a little with my hand and splashing it onto the dough. This helped to incorporate the flour that was leftover, as the dough had become quite dry. Once the fourth cup and final cup of flour had been added, and I had reached a consistency I deemed good (a little sticky, but just enough that the dough stays together and does not appear flaky), I had used 1 cup of water.
9:35 am
Completed steps 11 through 14. I finished kneading. I separated the dough into two halves, and put each in an oven safe tray with flour sprinkled over, as instructed. I covered them and left them to rise again.
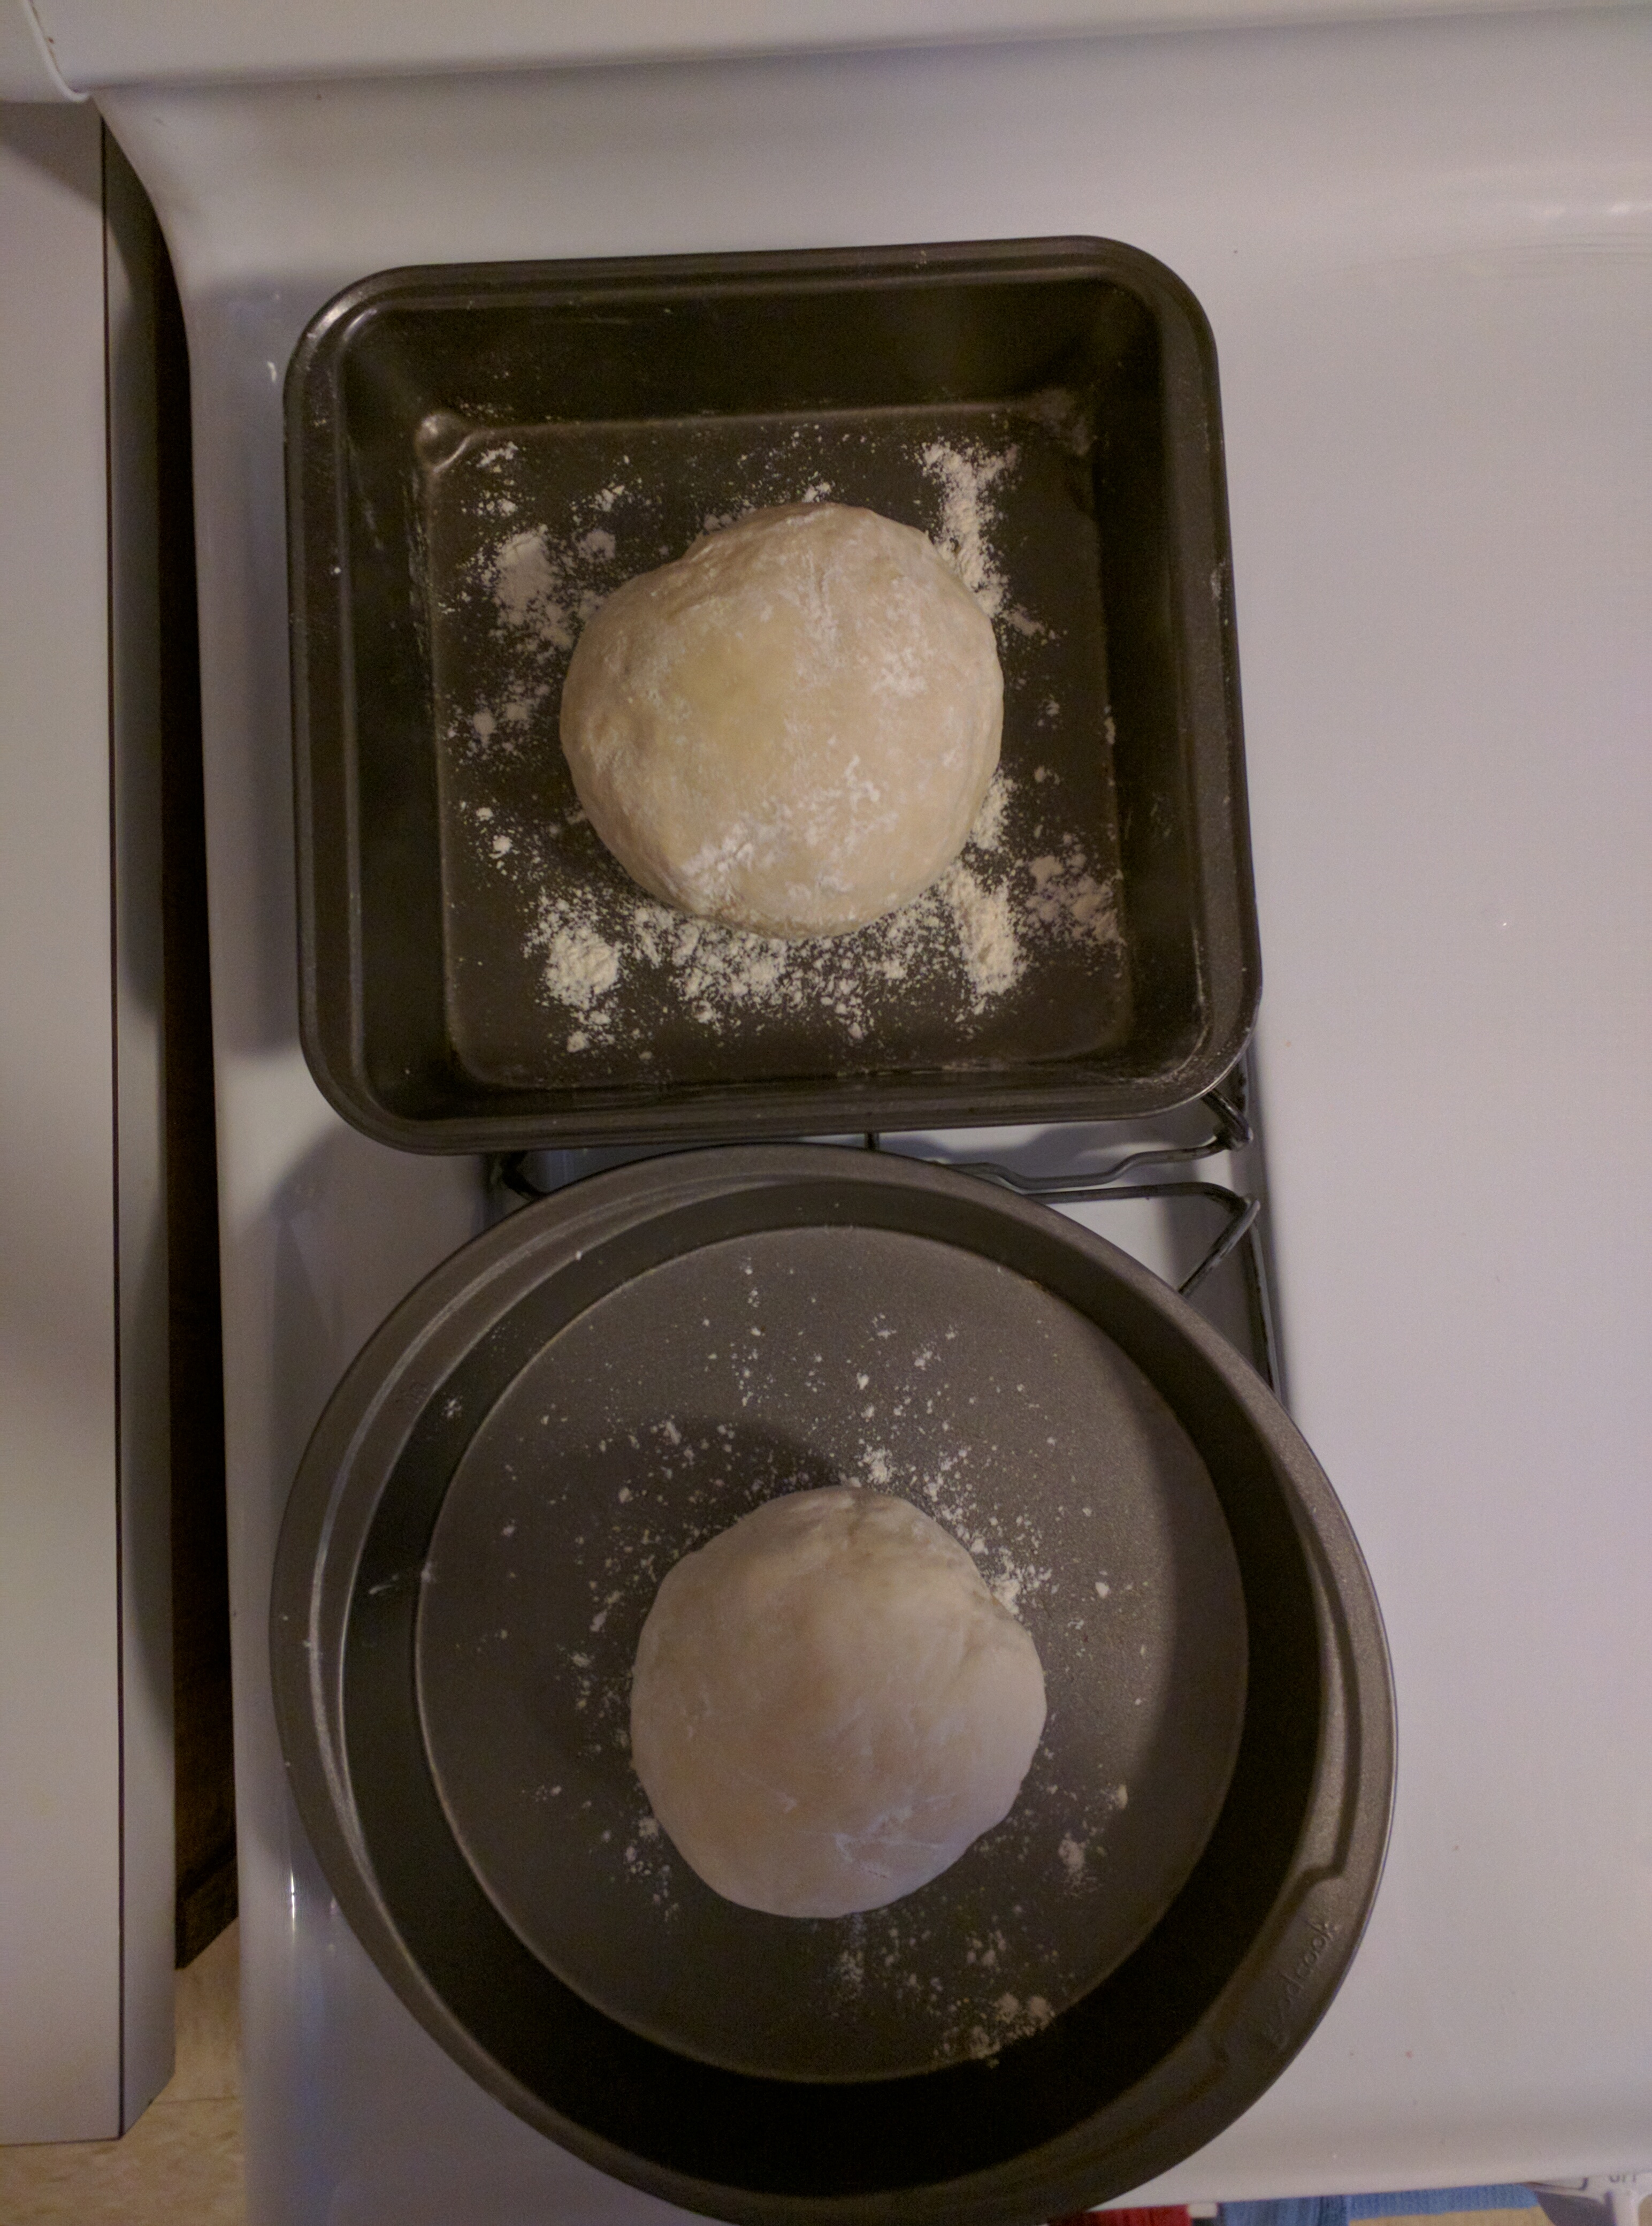
11:45 am
Checked on the dough. It has increased considerably and is ready for cooking! Preheated the oven.
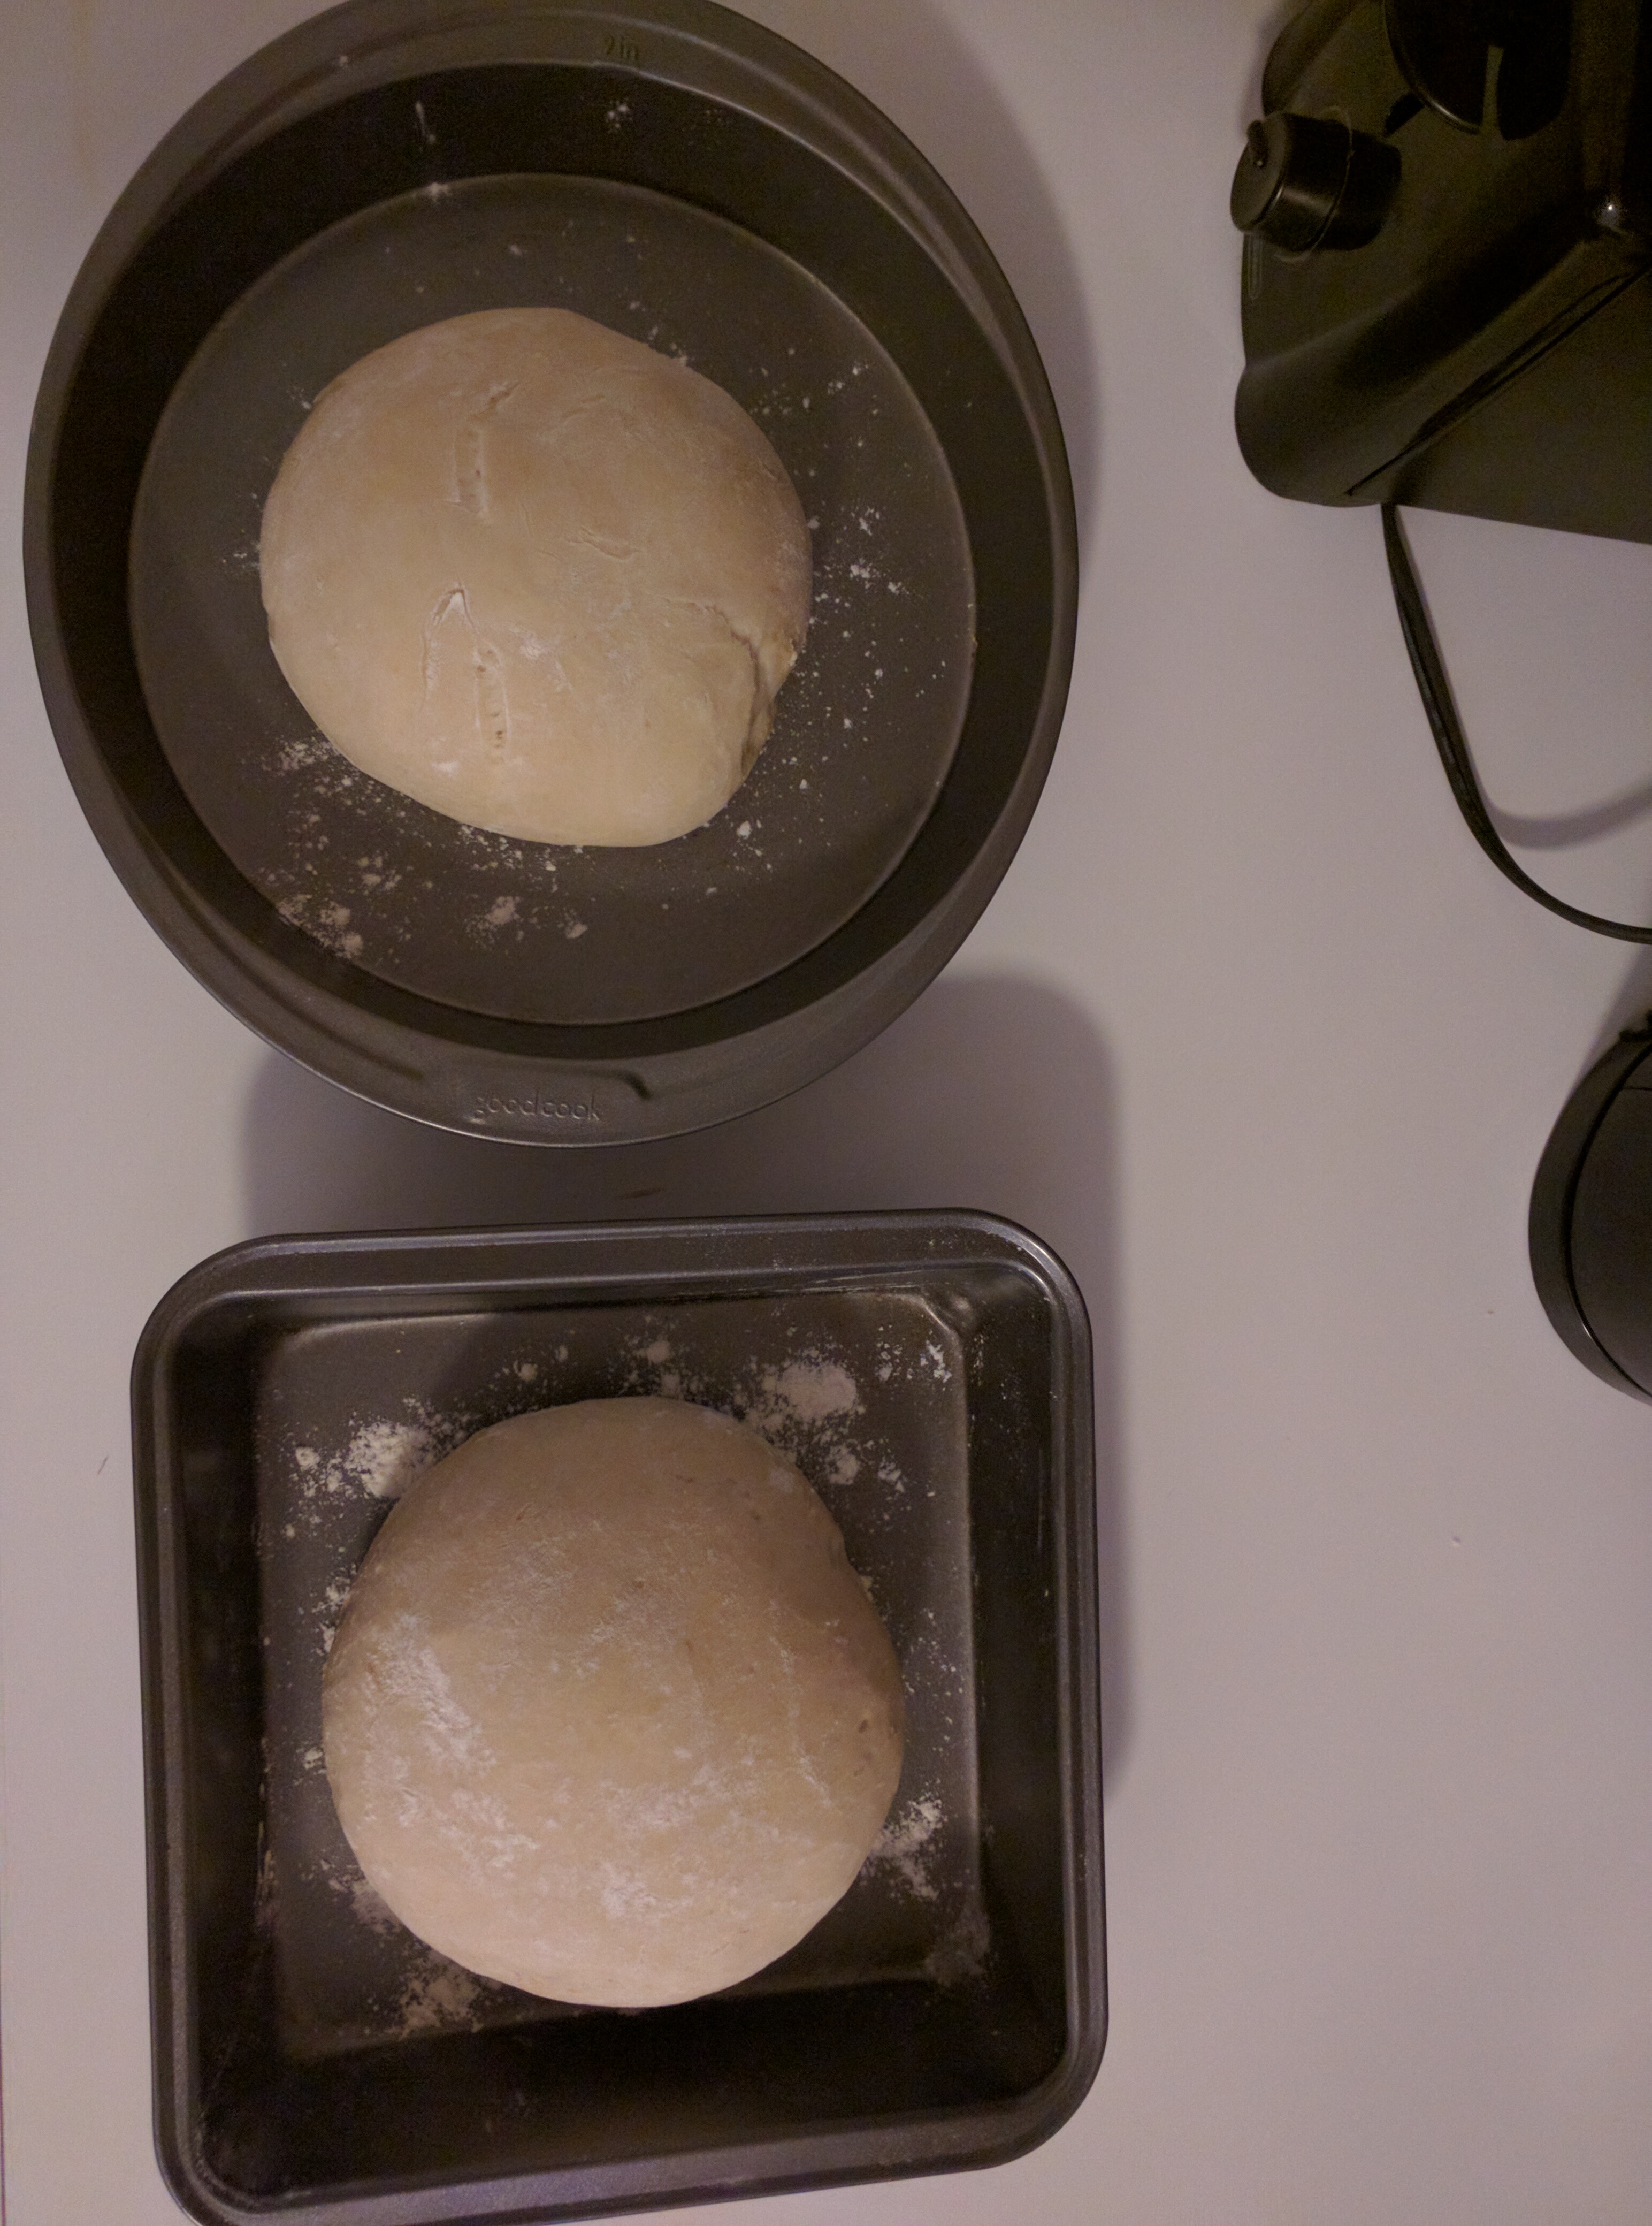
12:24 pm
Put one of the loaves in the oven.
12:34 pm
Feeling quite motherly towards my loaf and fretting over it and checking it every few minutes, which is probably not conducive to it actually baking…
1:03 pm
Took the bread out of the oven as it looked done. Very pleasantly surprised with how it looks!
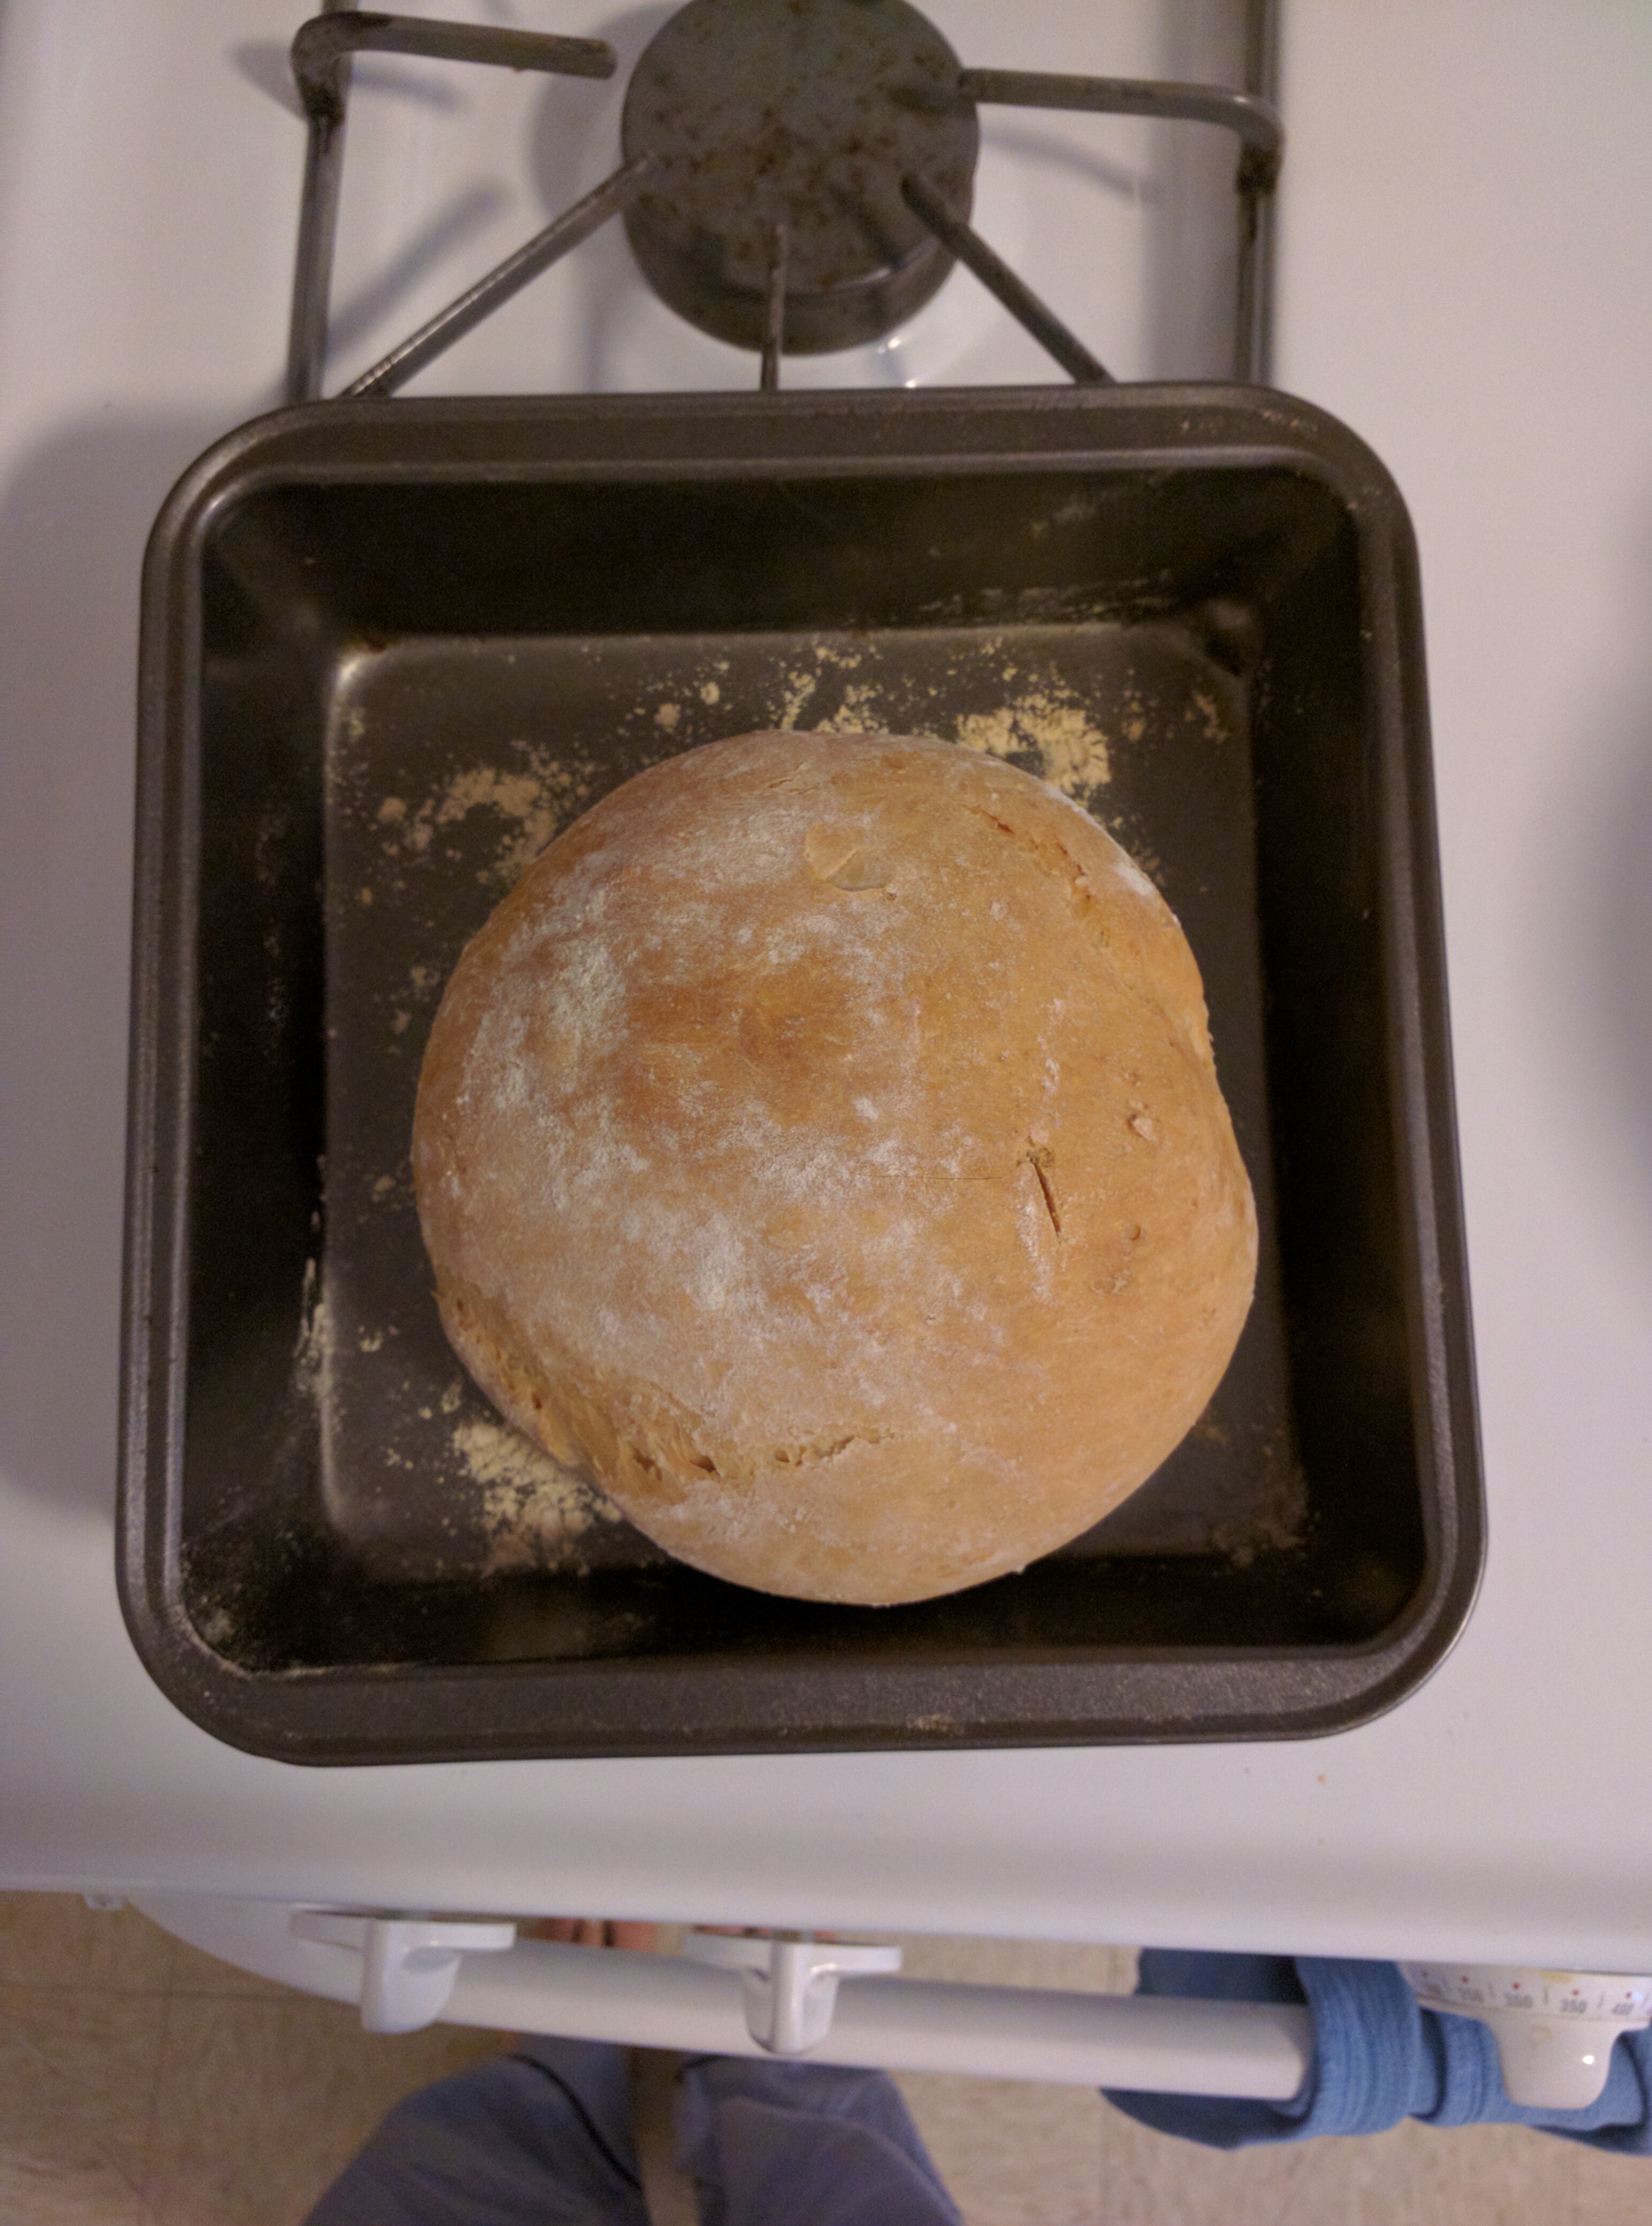
1:10 pm
Completed steps 18 through 23. Put in the second loaf. The two-sided mold does not appear to have come out well. I think the mie cooled too much for it to really take the form of the object, even though I molded them as soon as I could handle the mie without burning my fingers. I ended up making three molds: a one-sided mold of a key, a two-sided mold of a fabric pin, and a two-sided mold of a pencil (this latter one is to see if the hexagonal shape of the pencil’s shaft will come out in the cast. Left the molds to dry. Tried the bread - with cheese of course - and it tastes delicious!
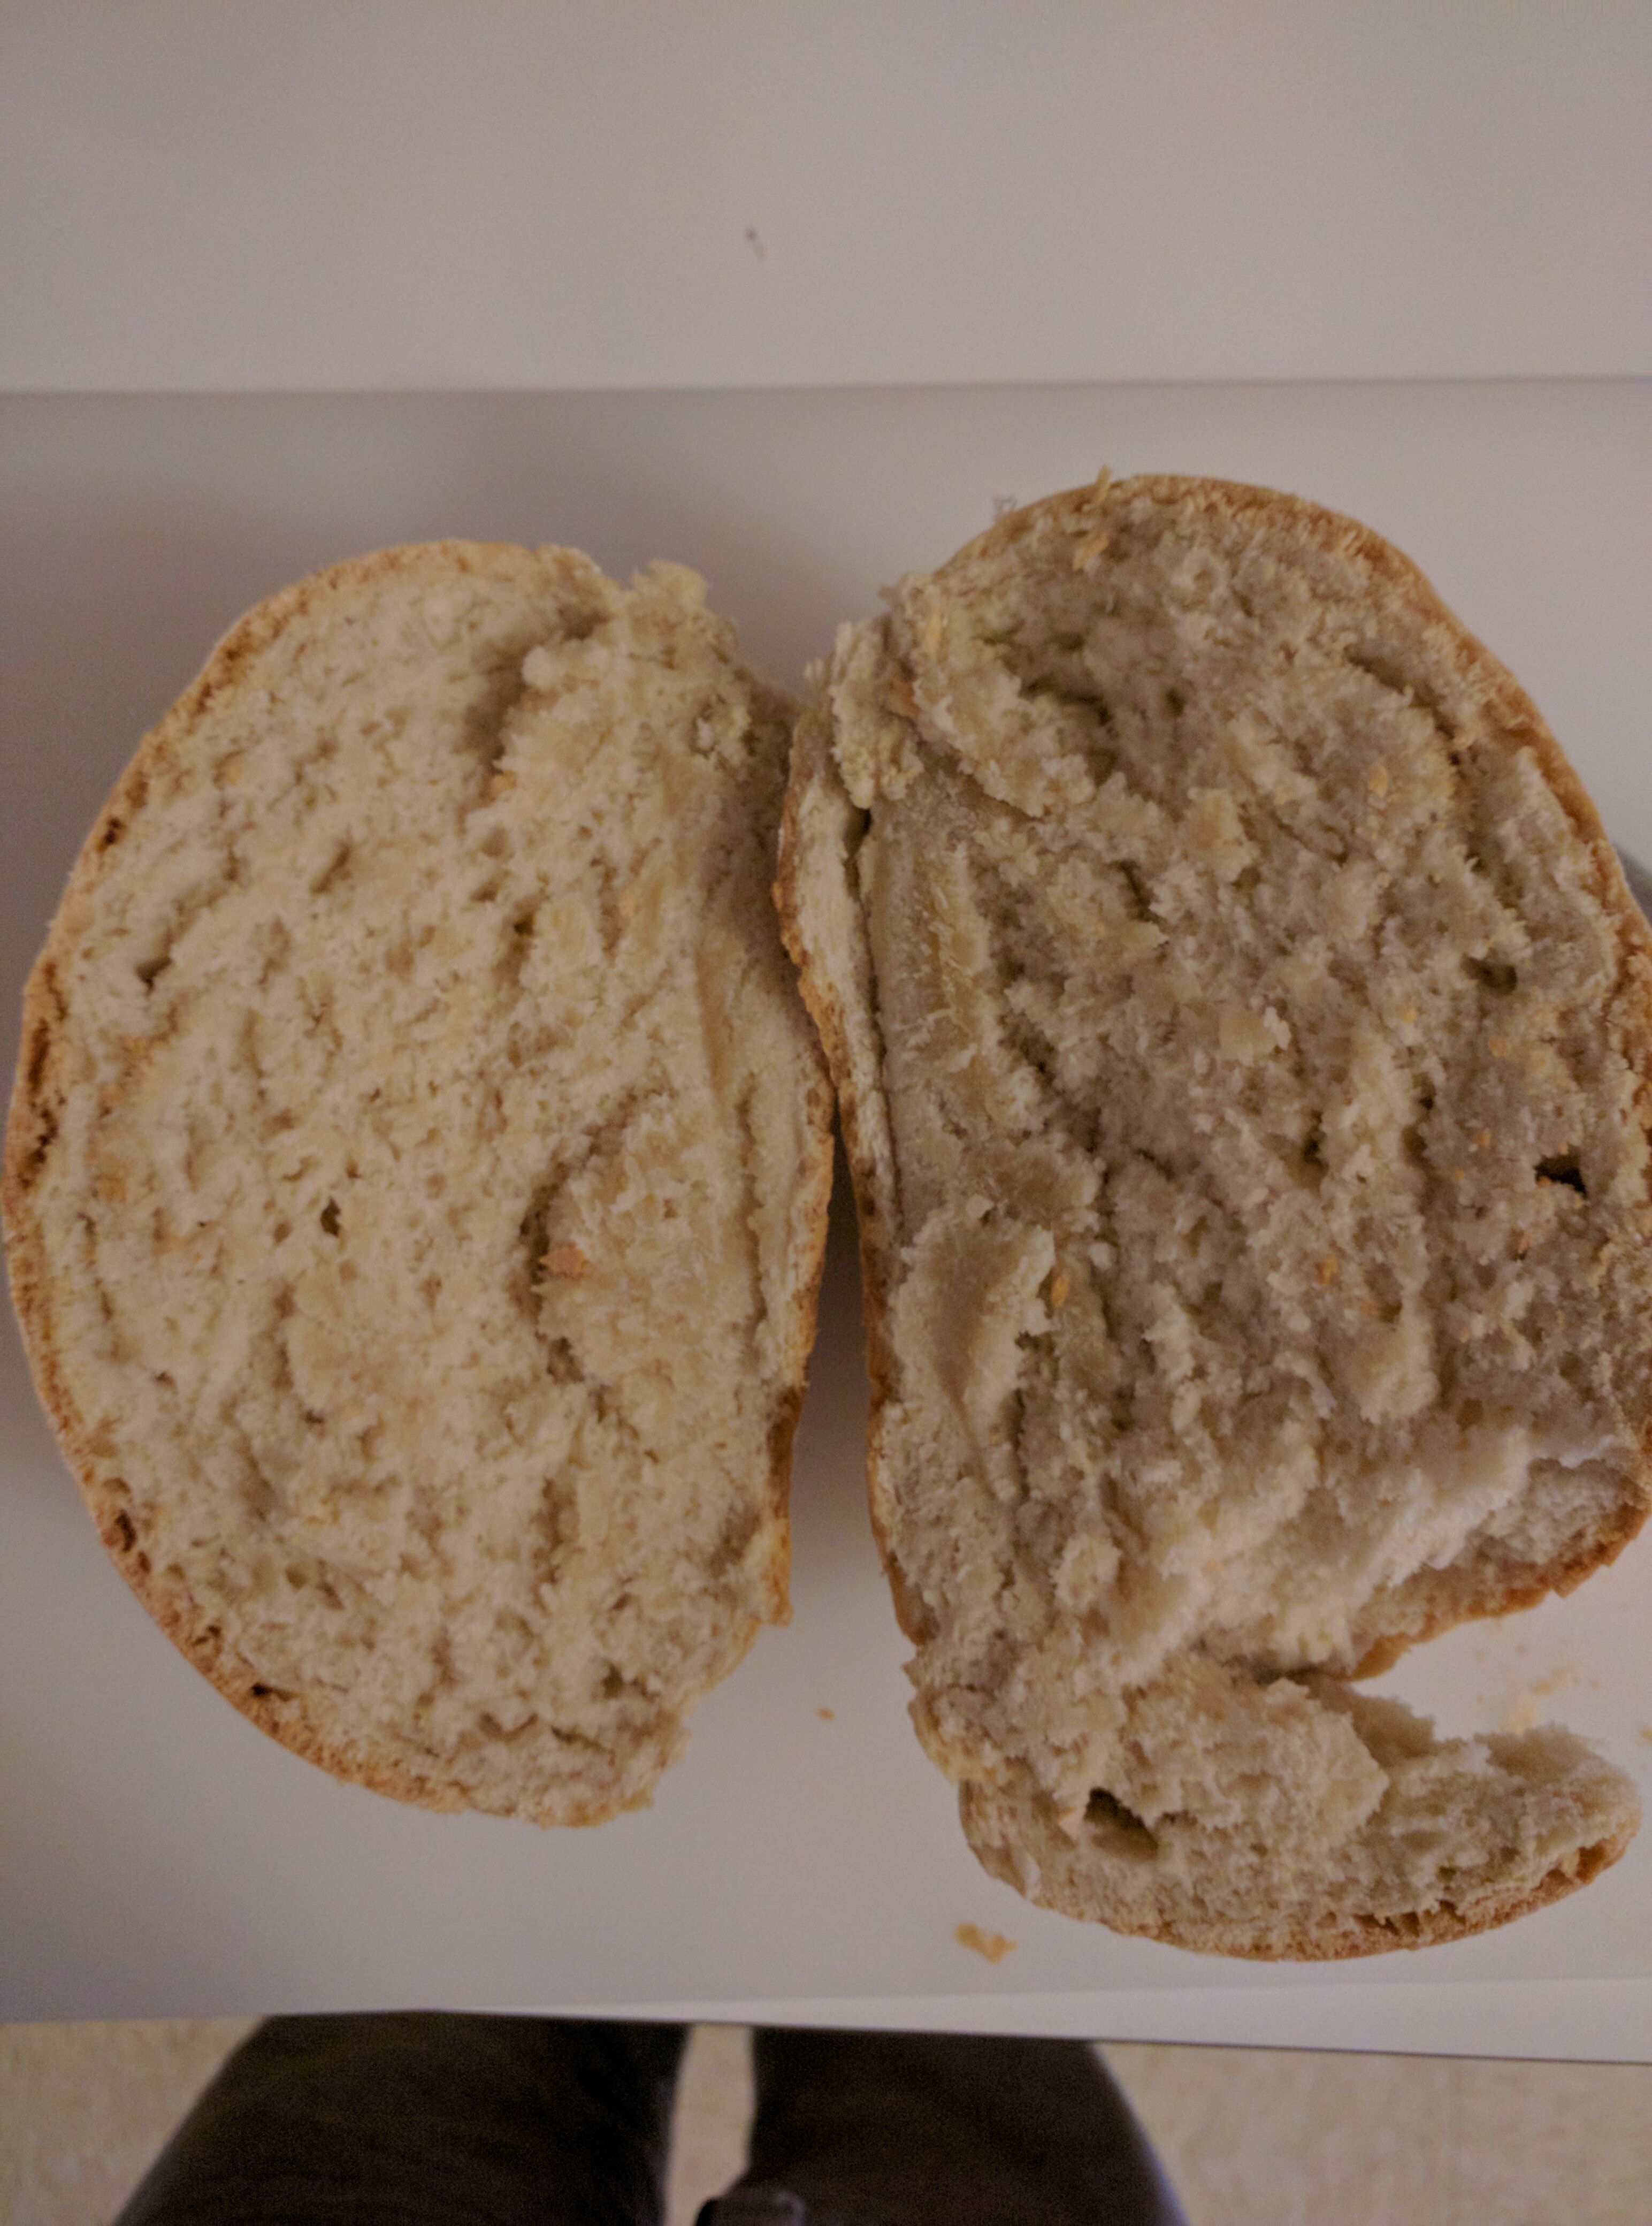
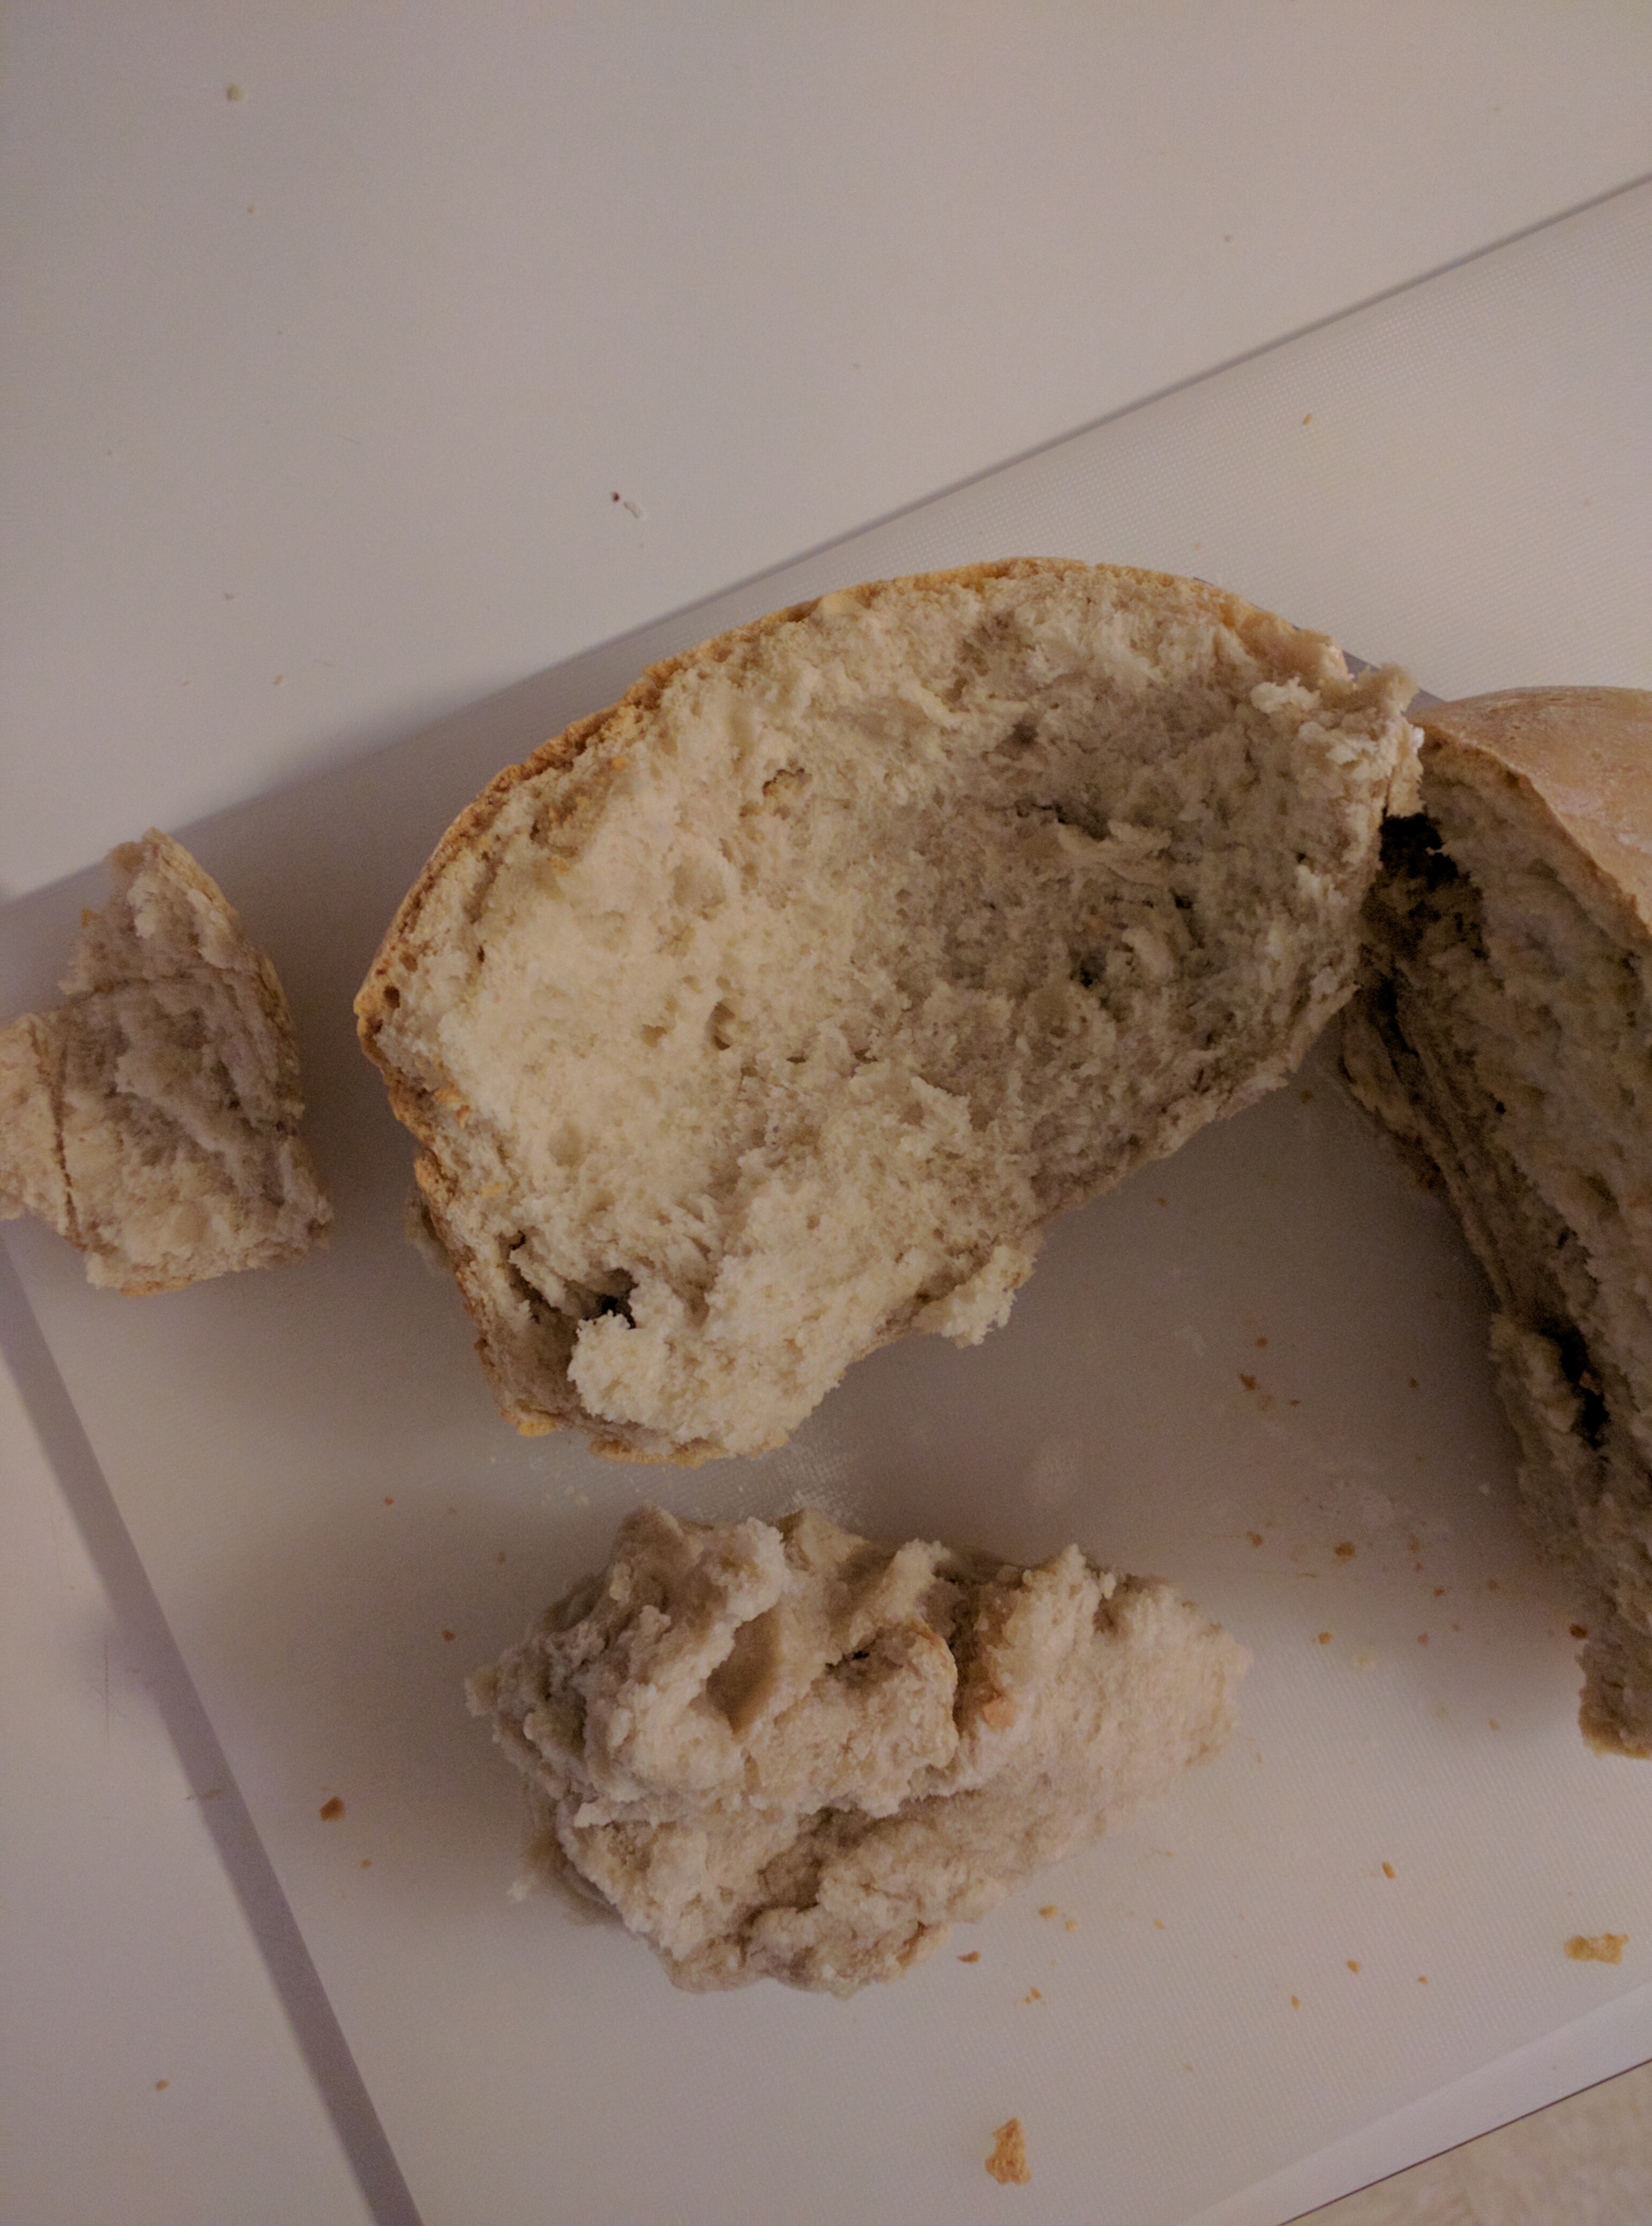
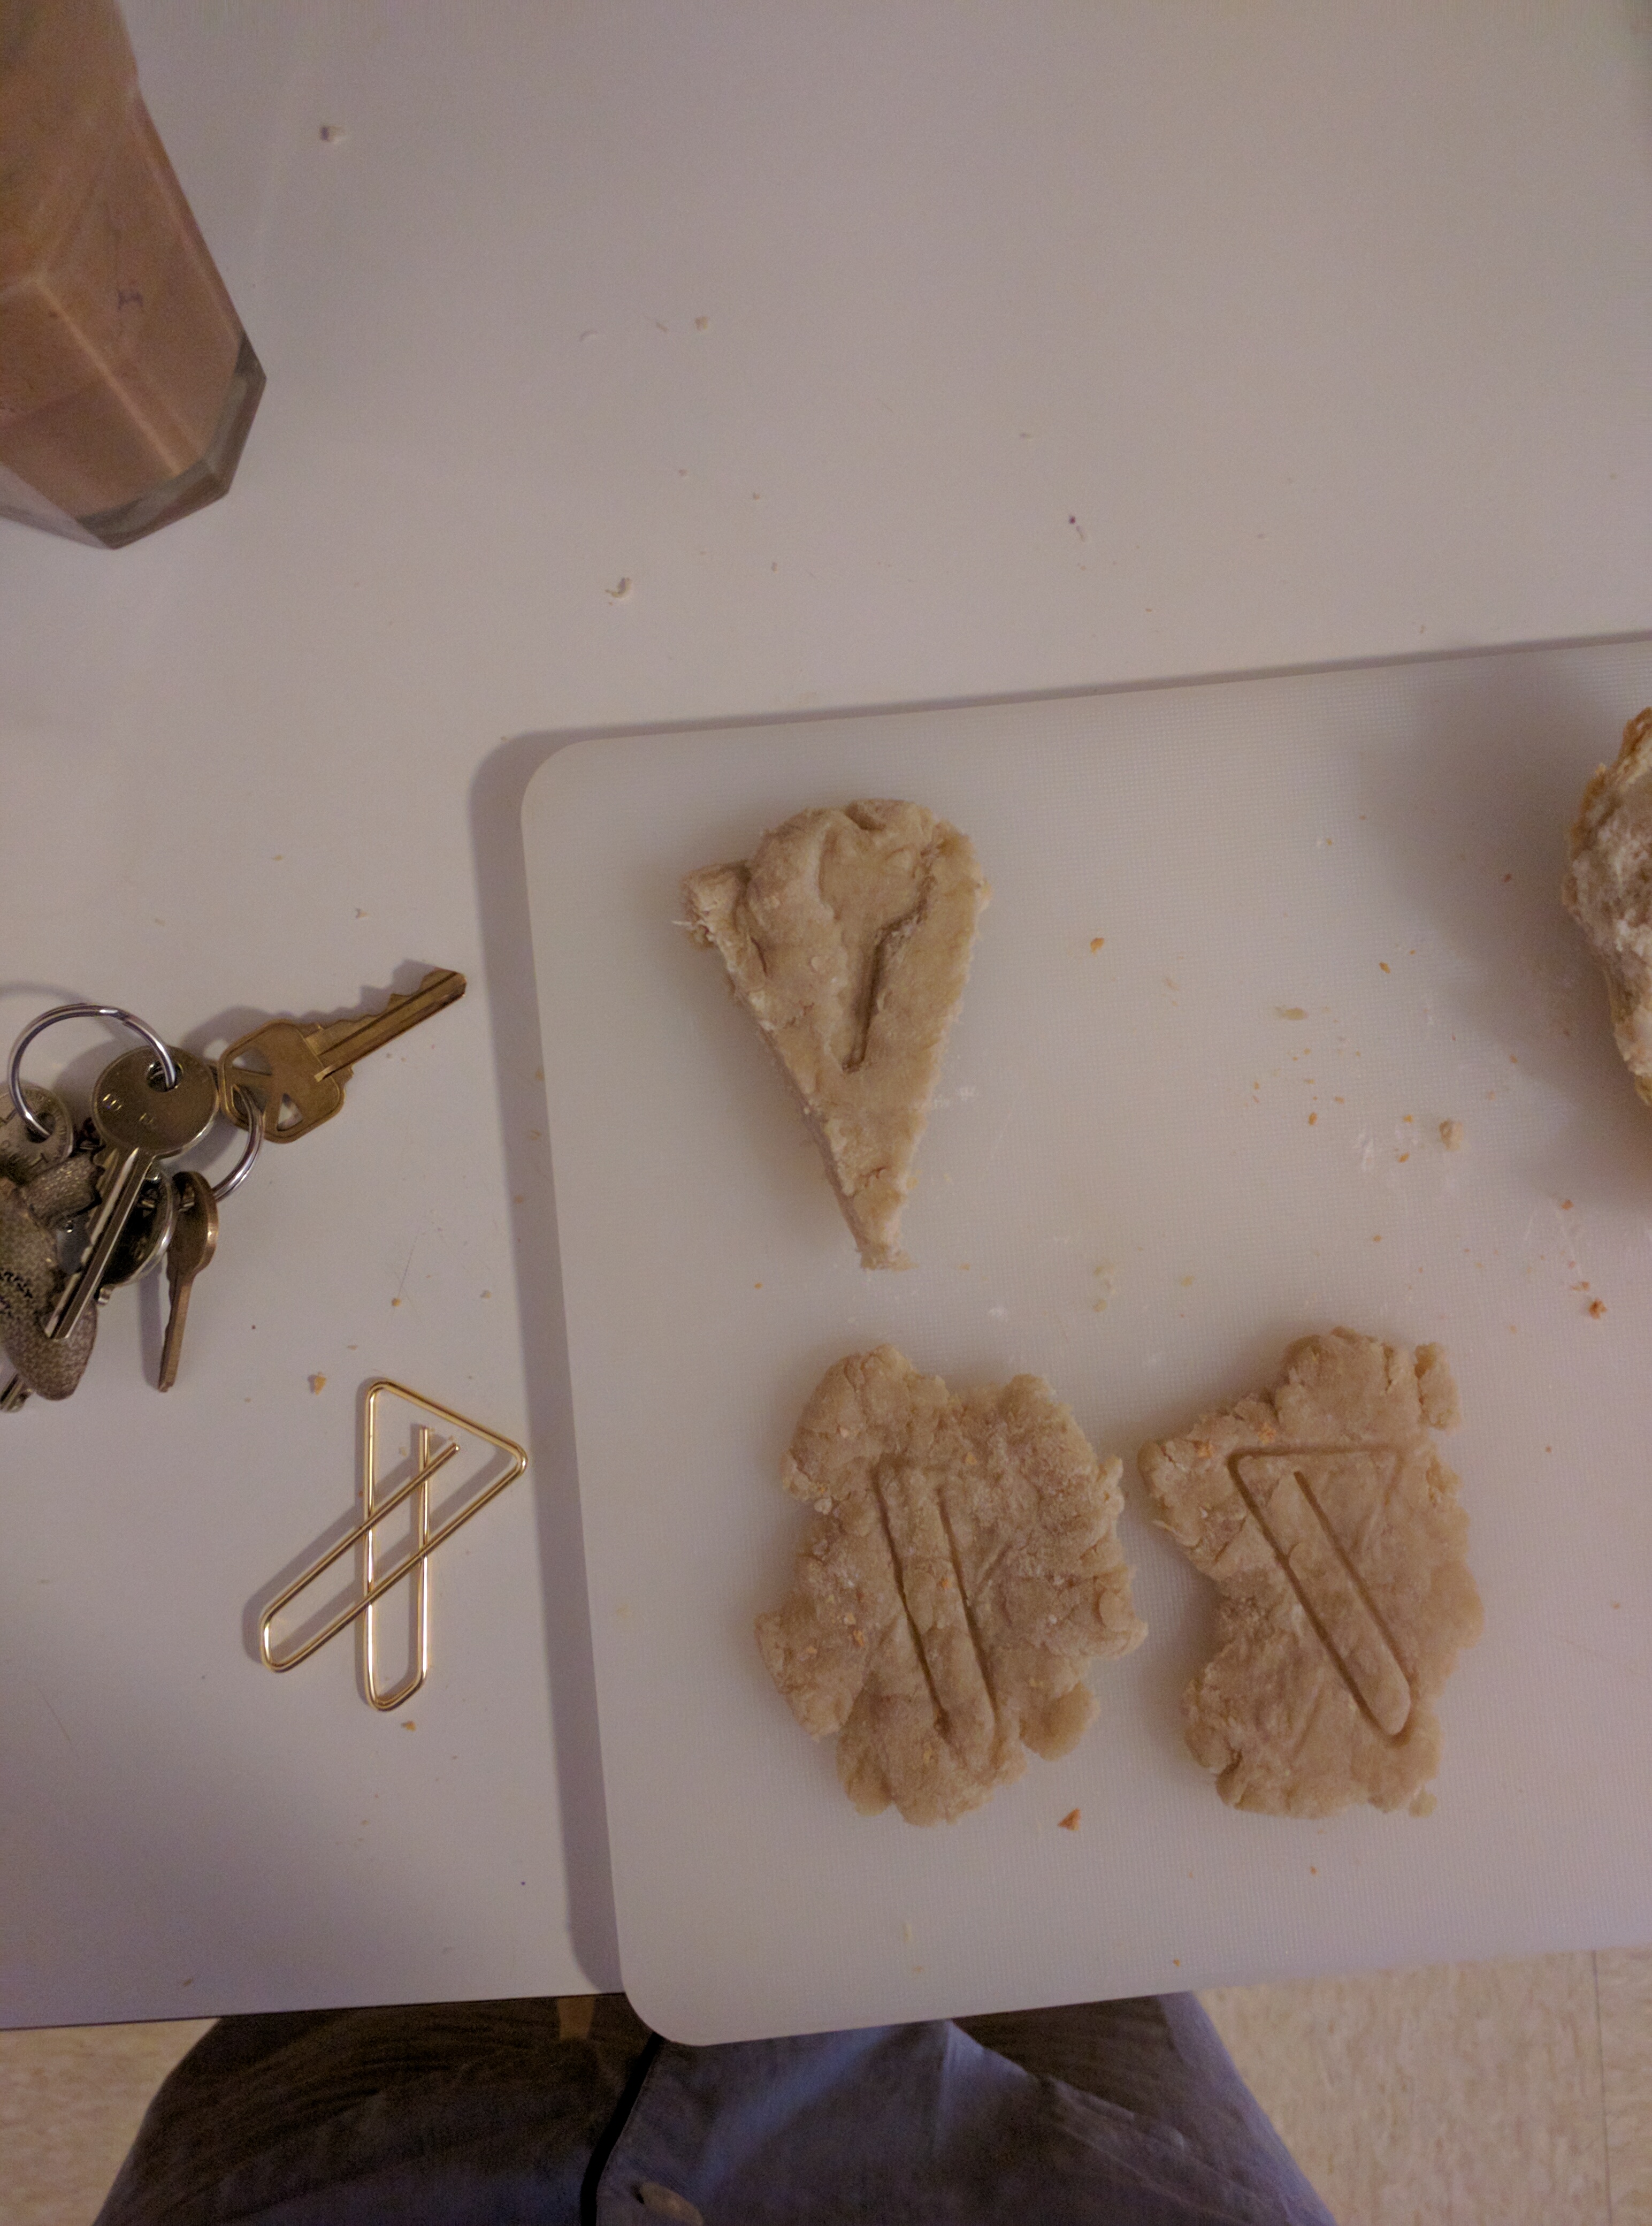
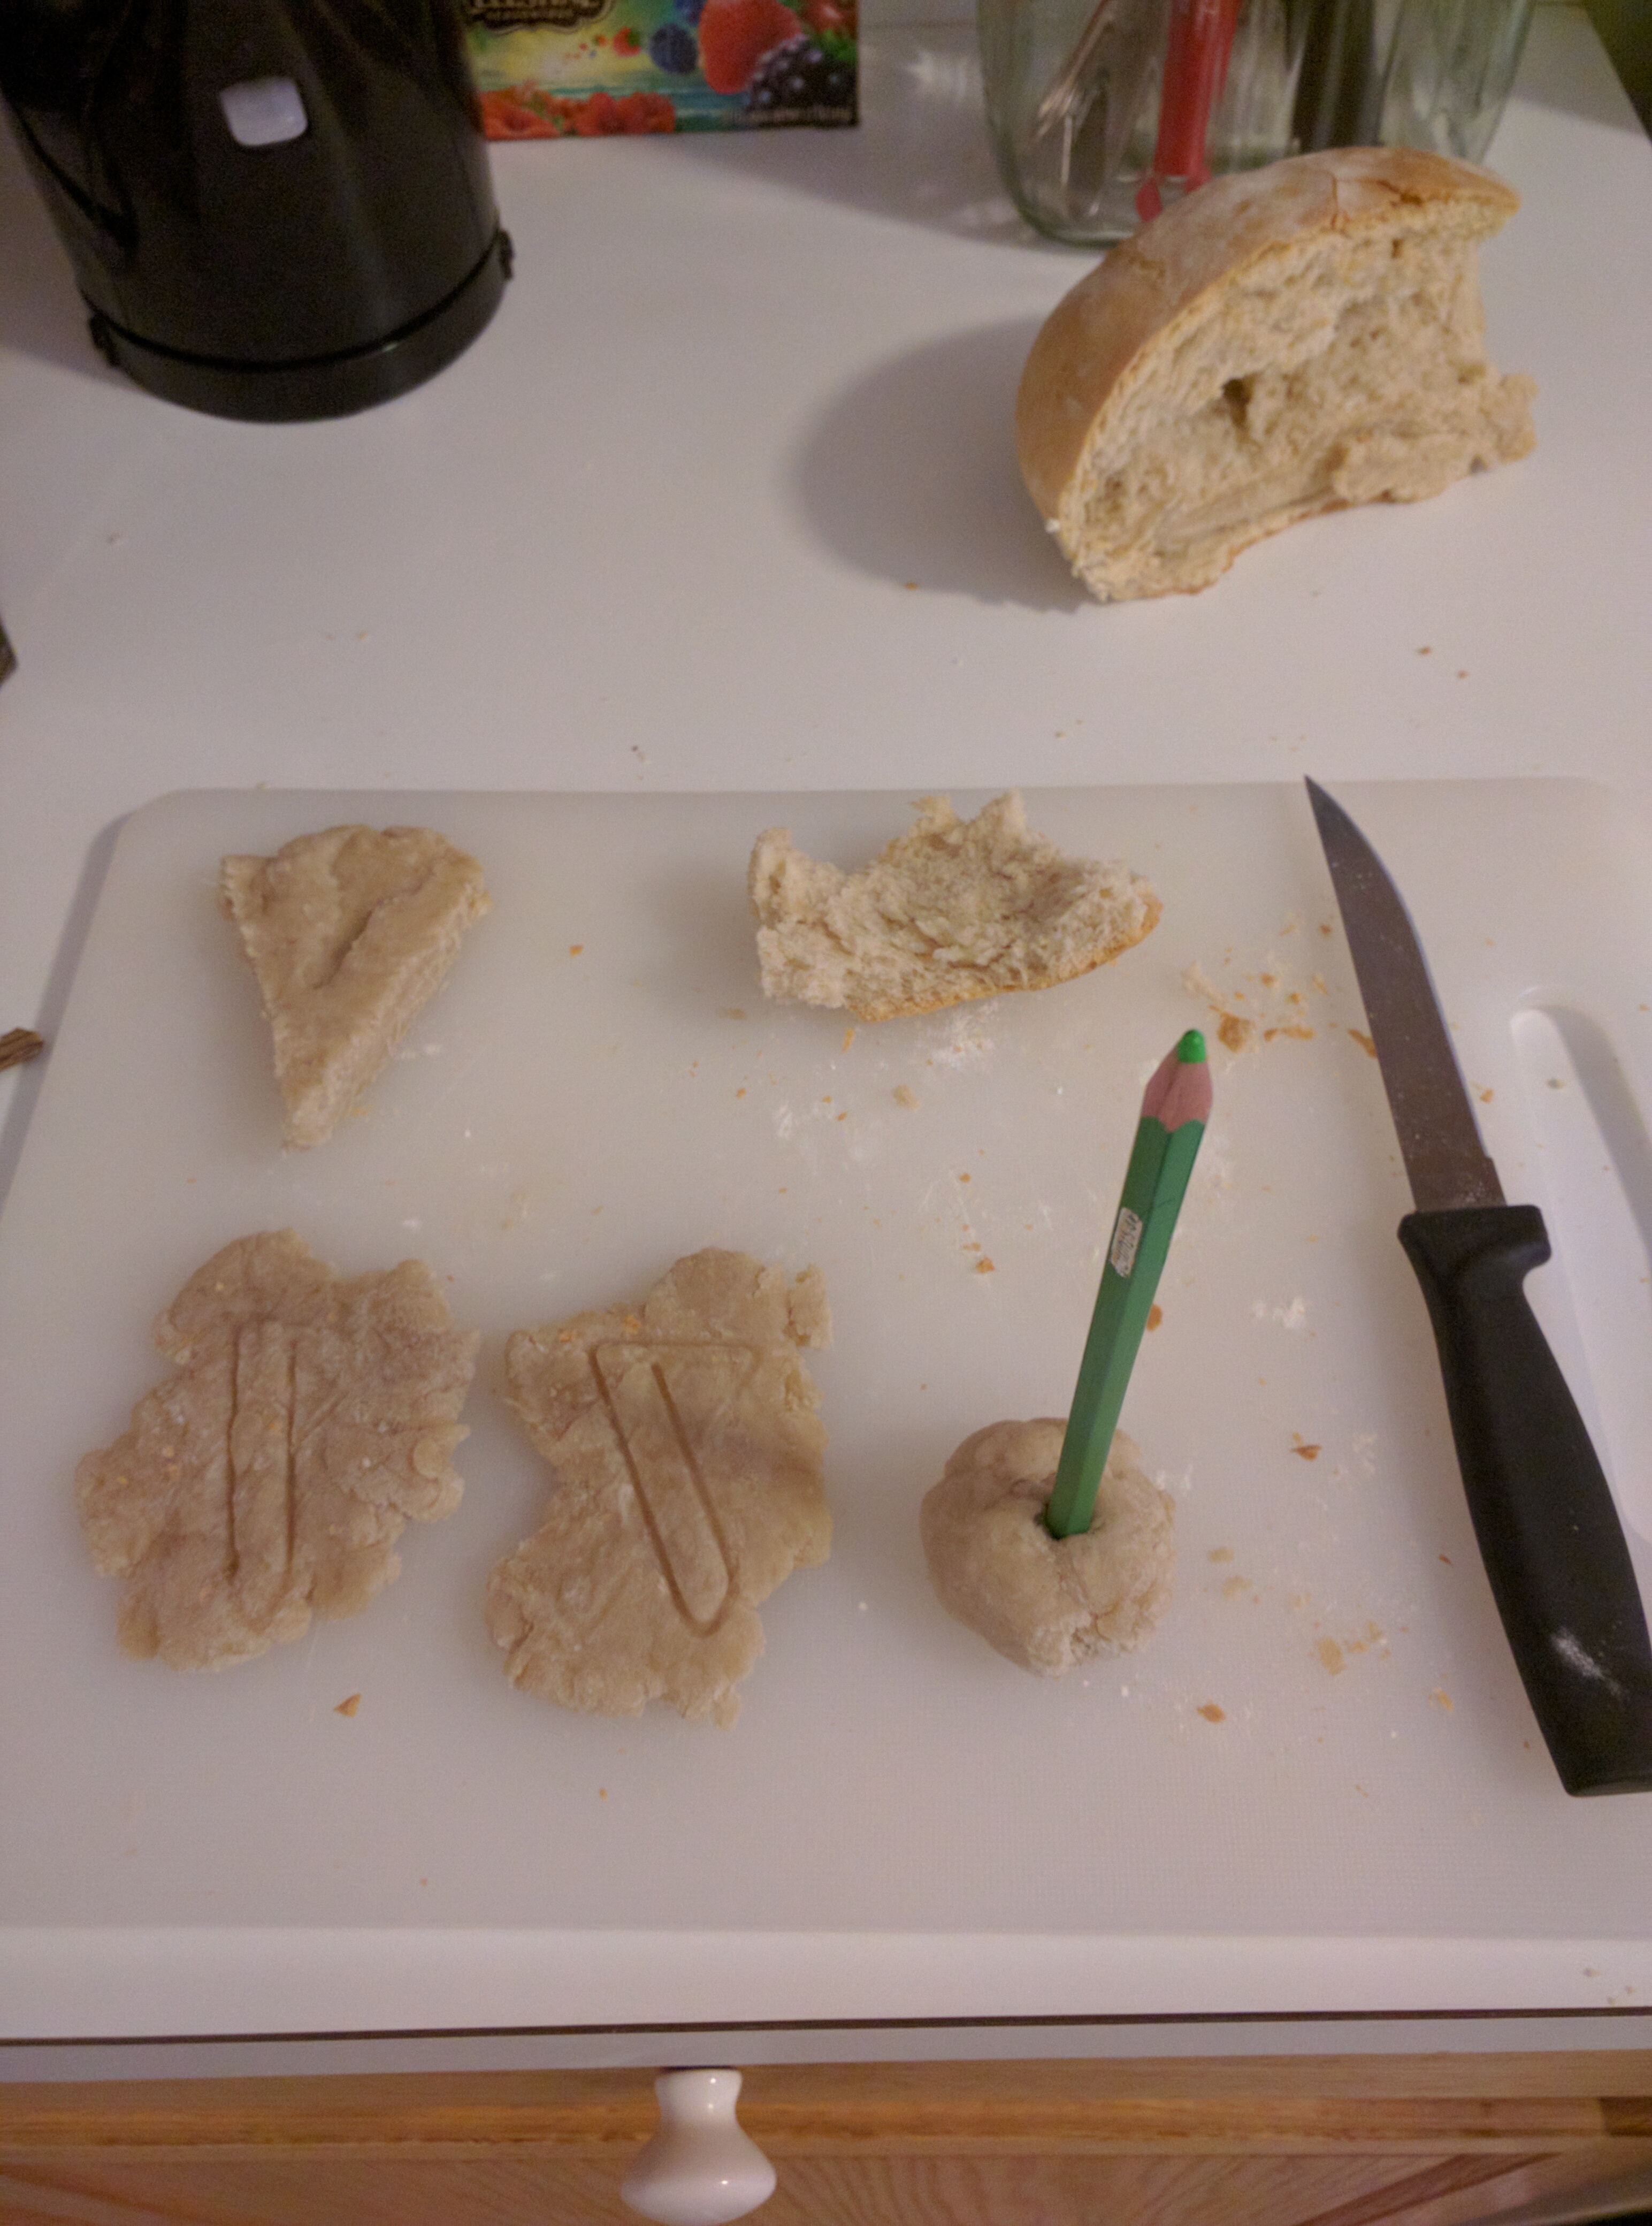
1:46 pm
Took the second loaf out. It looks good!
Name: Emma Le Pouésard
Date and Time: 09/26/2016 1 pm
Location: Making and Knowing Lab
Subject: Research - recipes in the BnF and bread recipes in John Evelyn
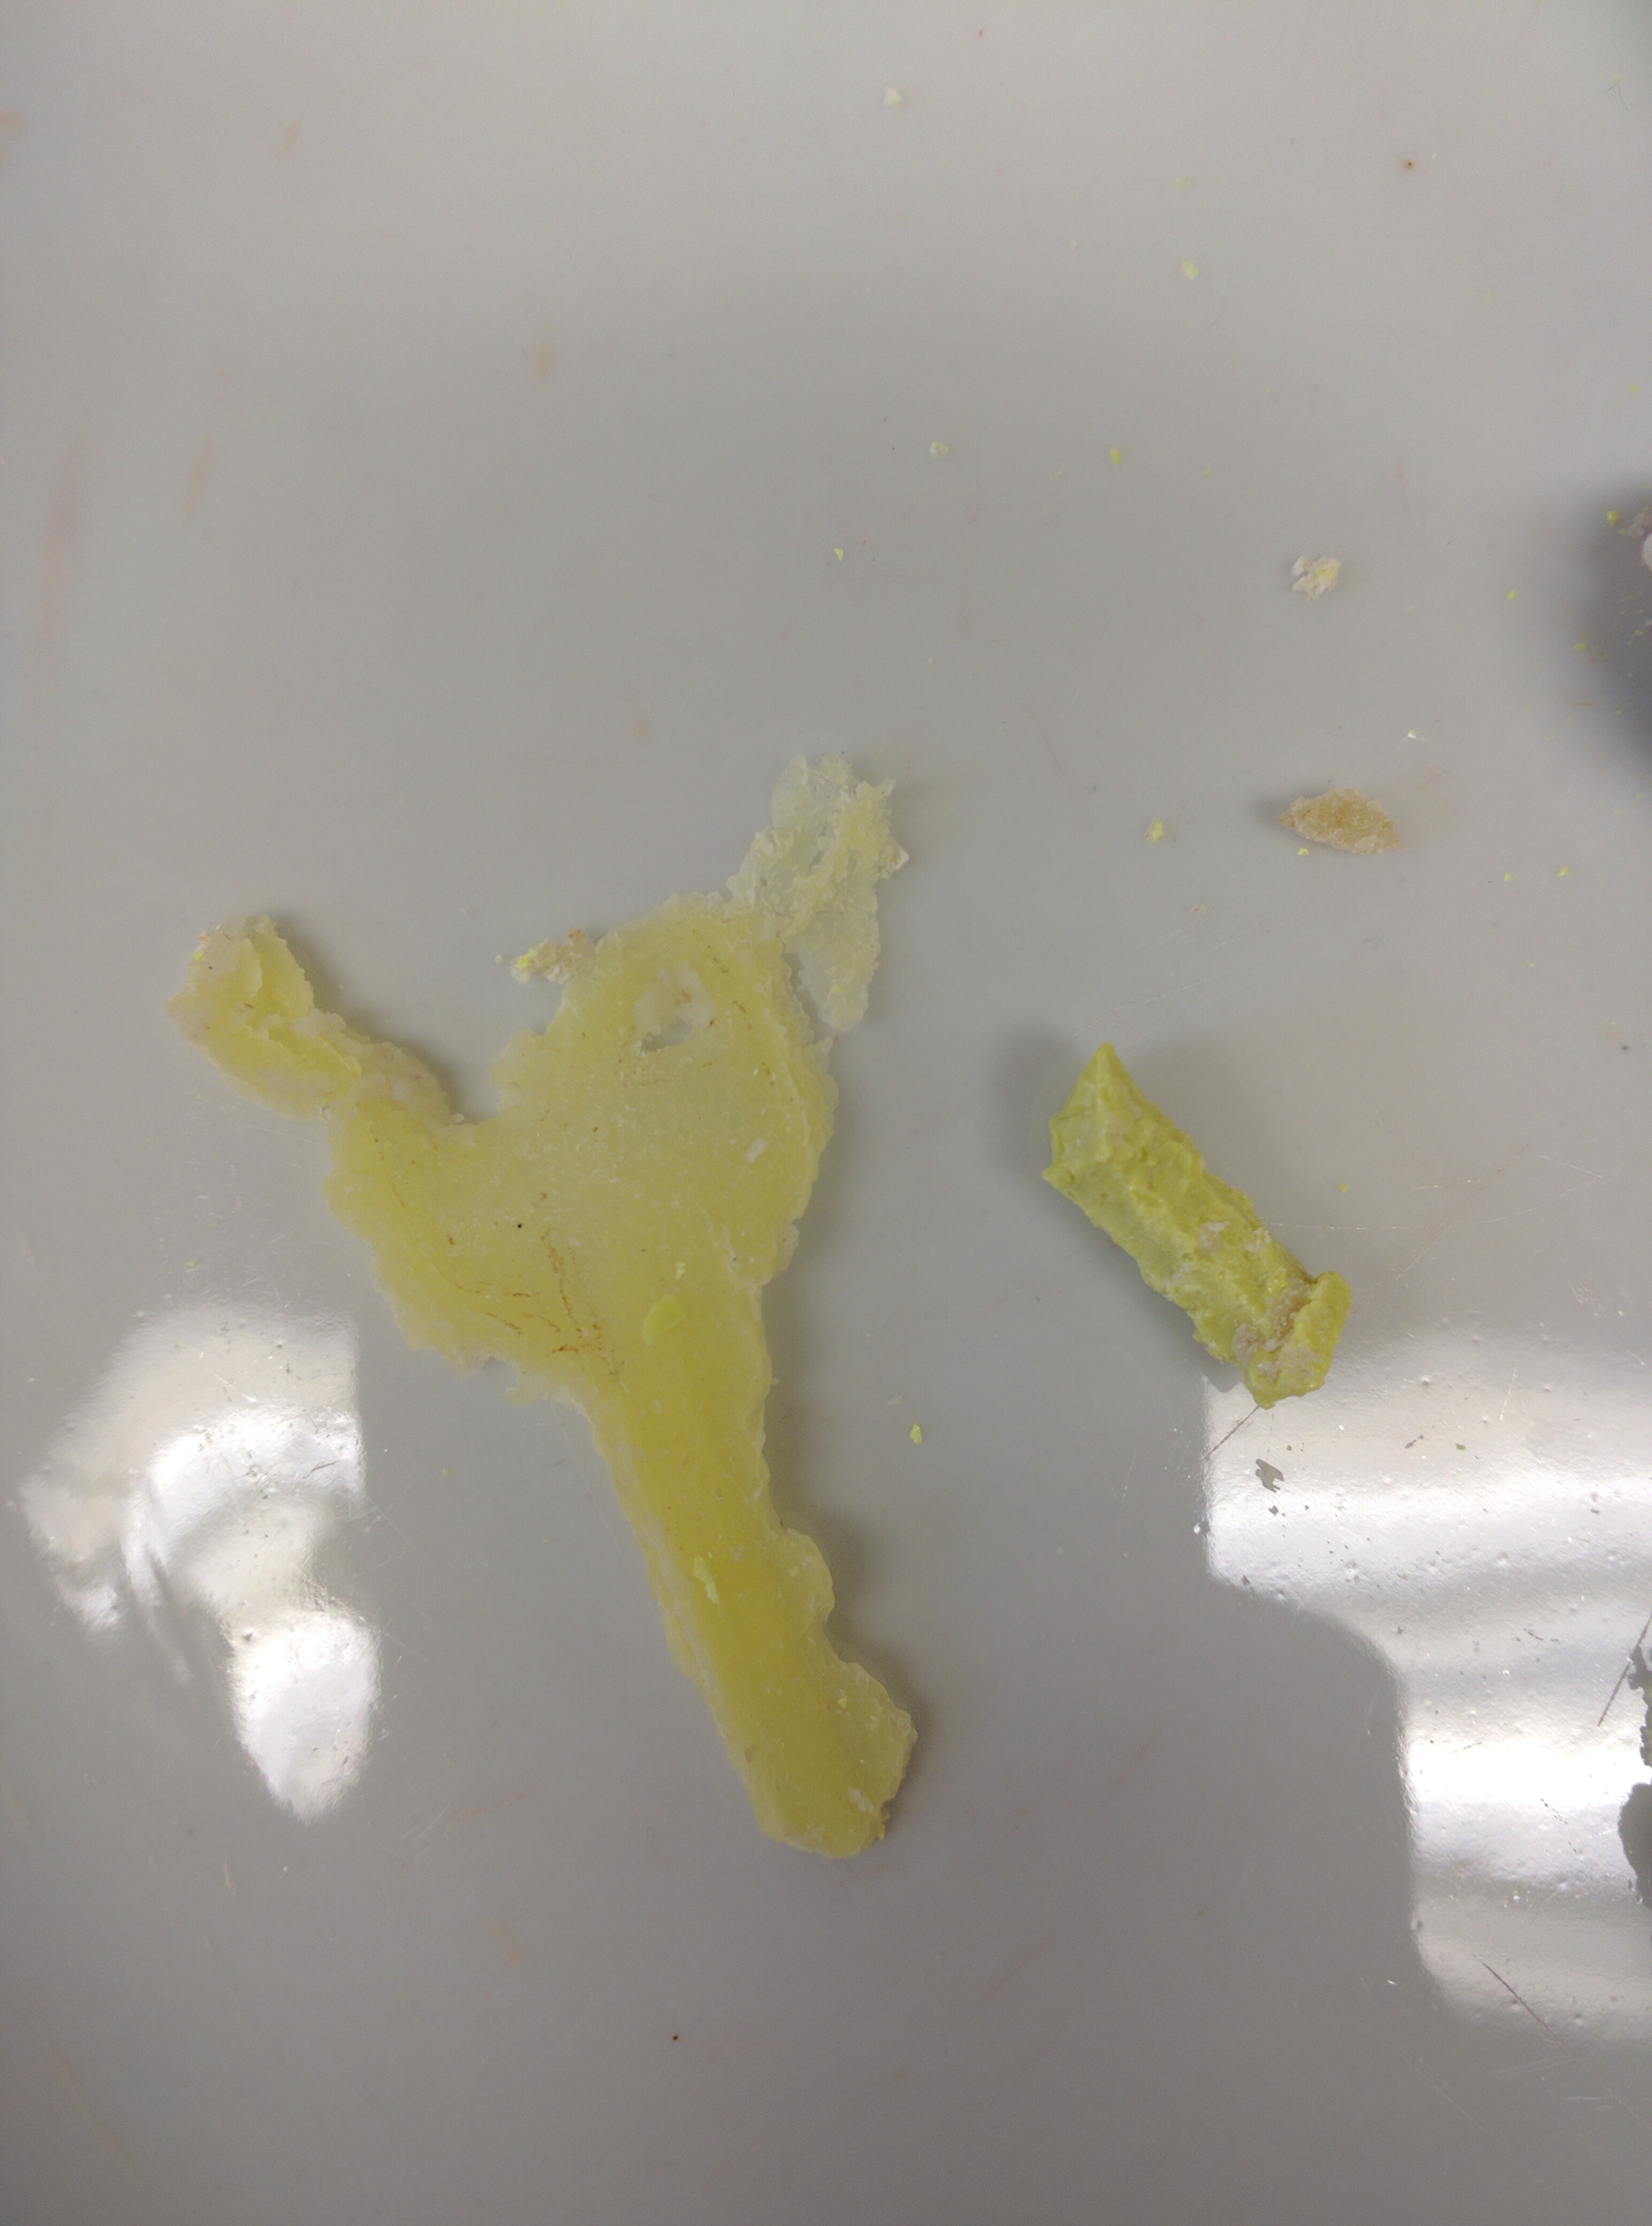
We went to the lab to cast with our bread molds. I started with the wax. Donna took us through steps to think about how we would cast in wax. We placed our plate of molds close to the burner, in which we put some wax pellets. Once that was melted, we quickly and smoothly poured it into the molds, adding more wax when needed. I spilled more than I wanted to. I chose the mold of my key, as it is the only one that came out well enough.
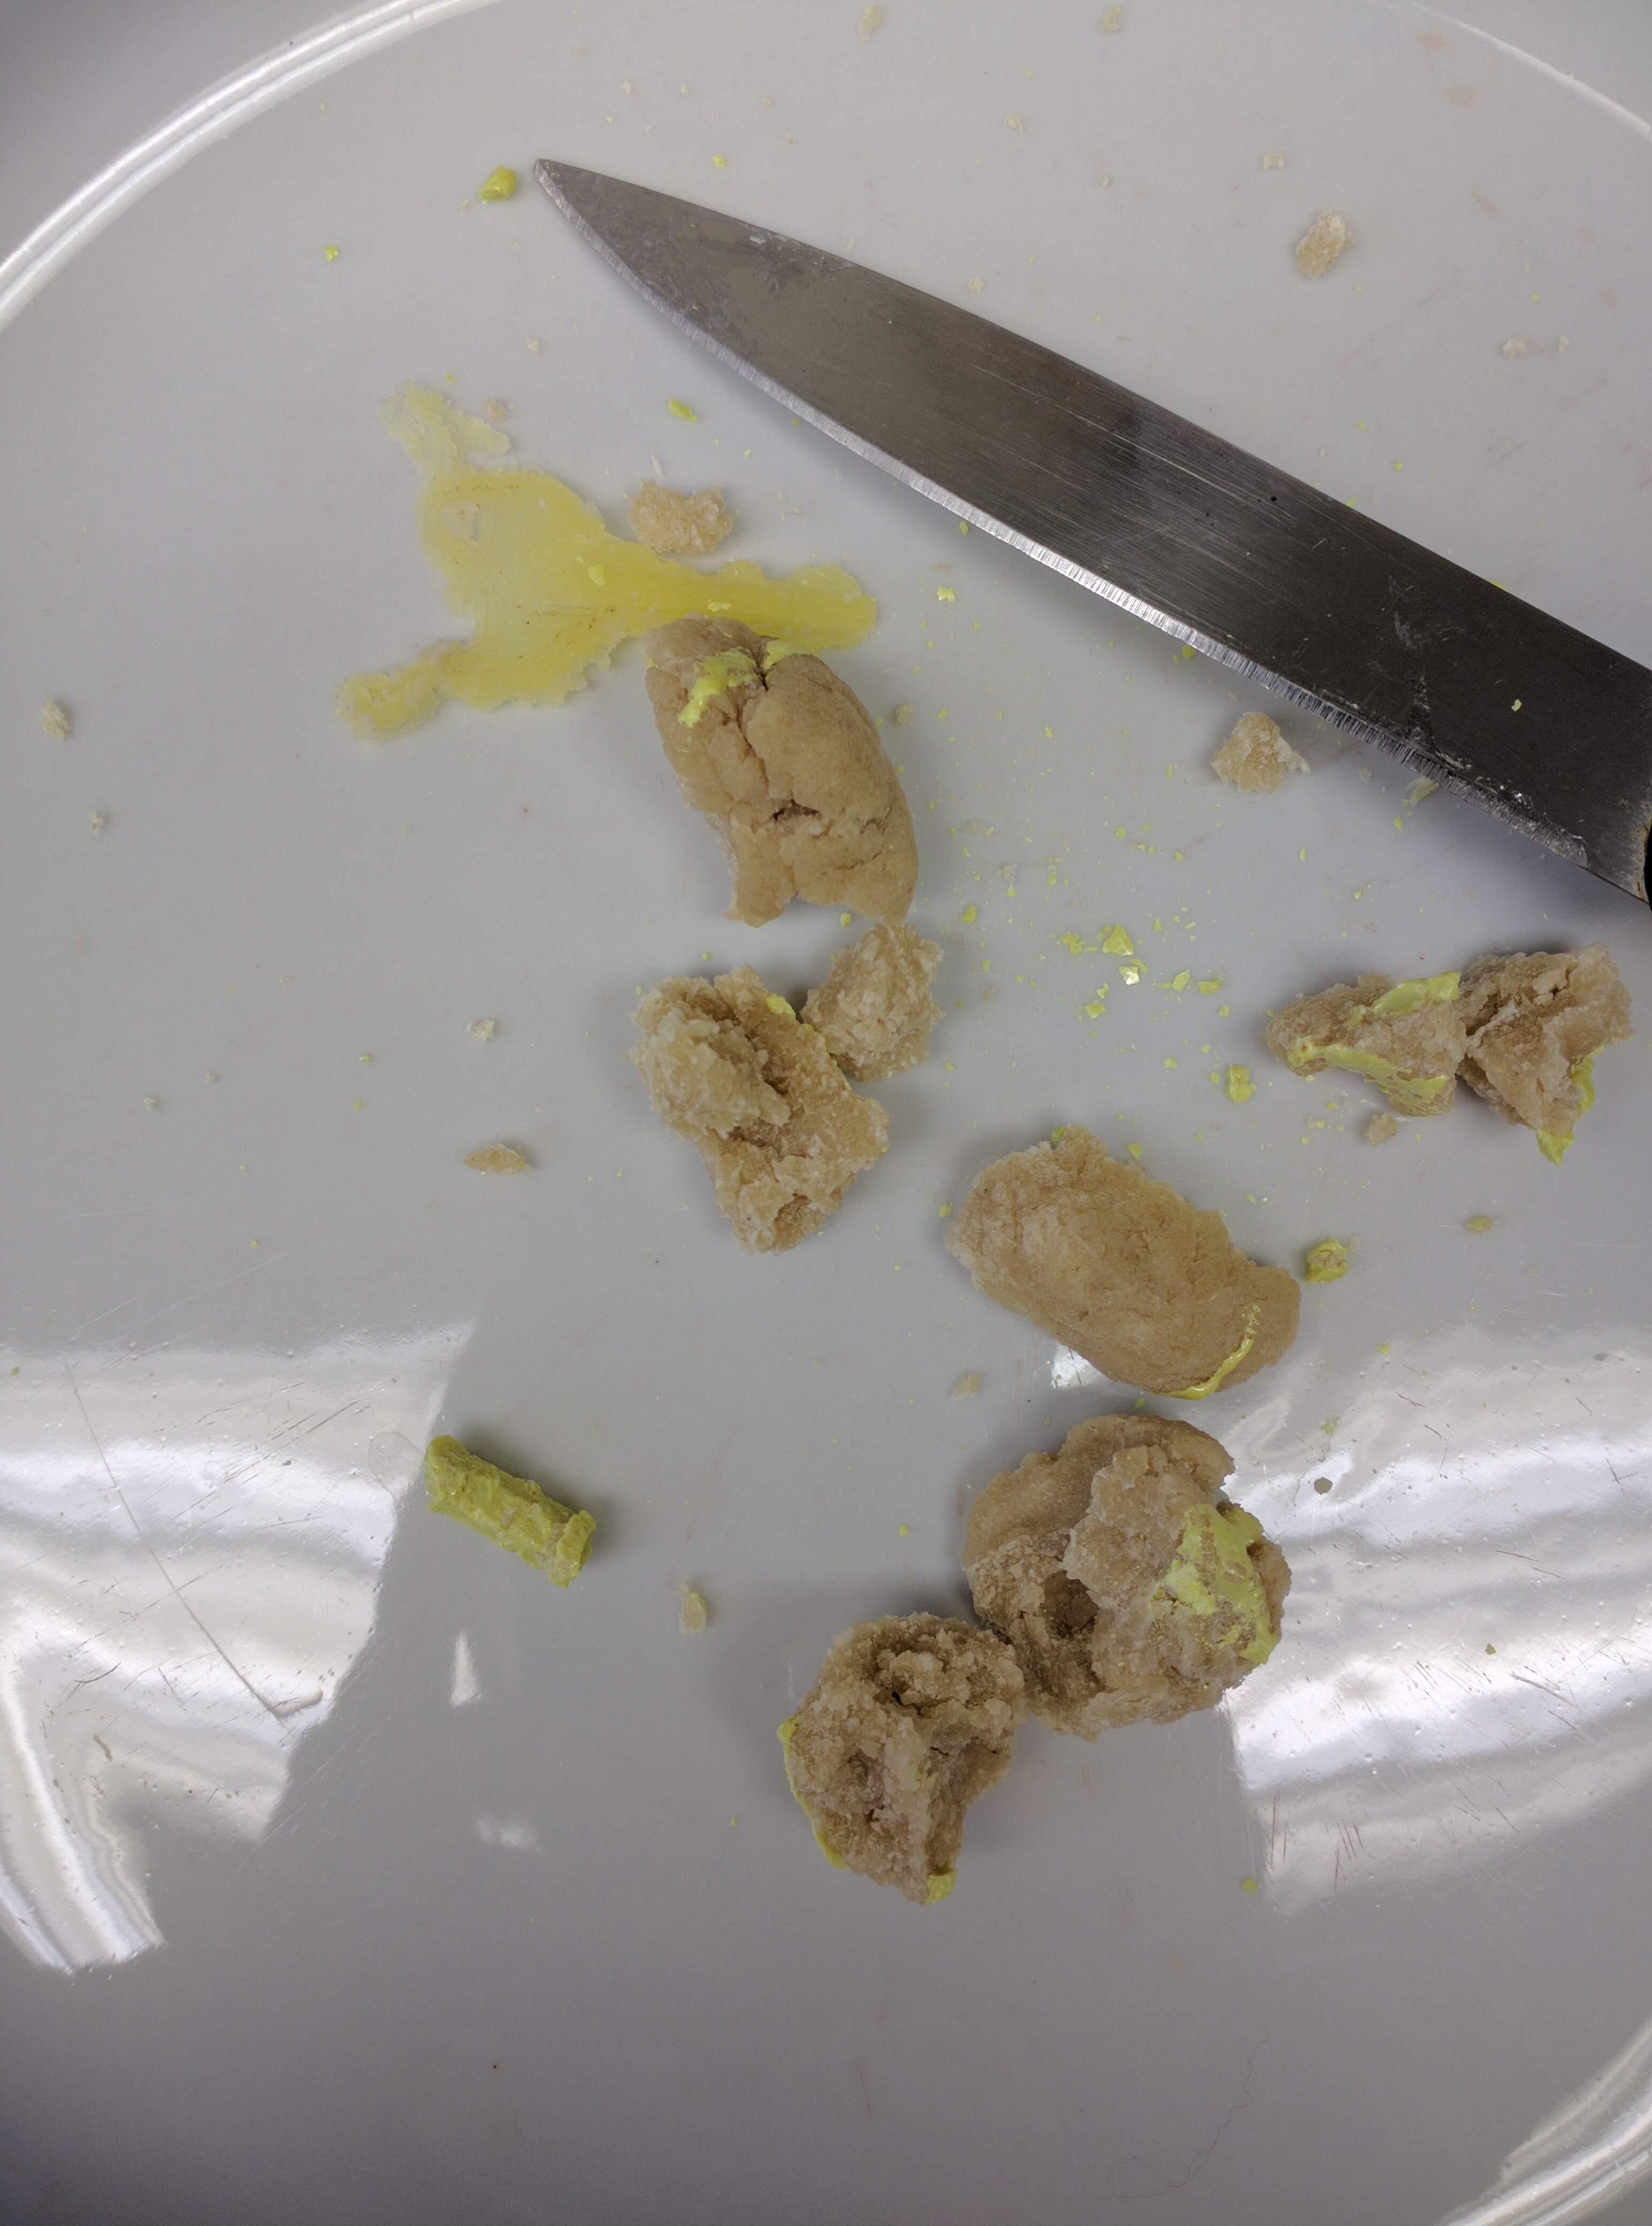
I then went over to cast in sulphur. As we were many people and we had a relatively short amount of time, I did not get to participate in the procedure to melt the sulphur, so only got to pour it into my pencil mold. Its three-dimensionality made me think that it would be safer for pouring sulphur than a shallow one-sided mold.
I then went back to my wax mold, which had already hardened, and Donna helped me to carefully pull away the bread. A layer of bread close to the wax stayed stuck so we soaked the mold in water to try to separate it from the wax.
Name: Emma Le Pouésard
Date and Time: 09/29/2016 2 pm
Location: Making and Knowing Lab
Subject: Taking out the molded objects
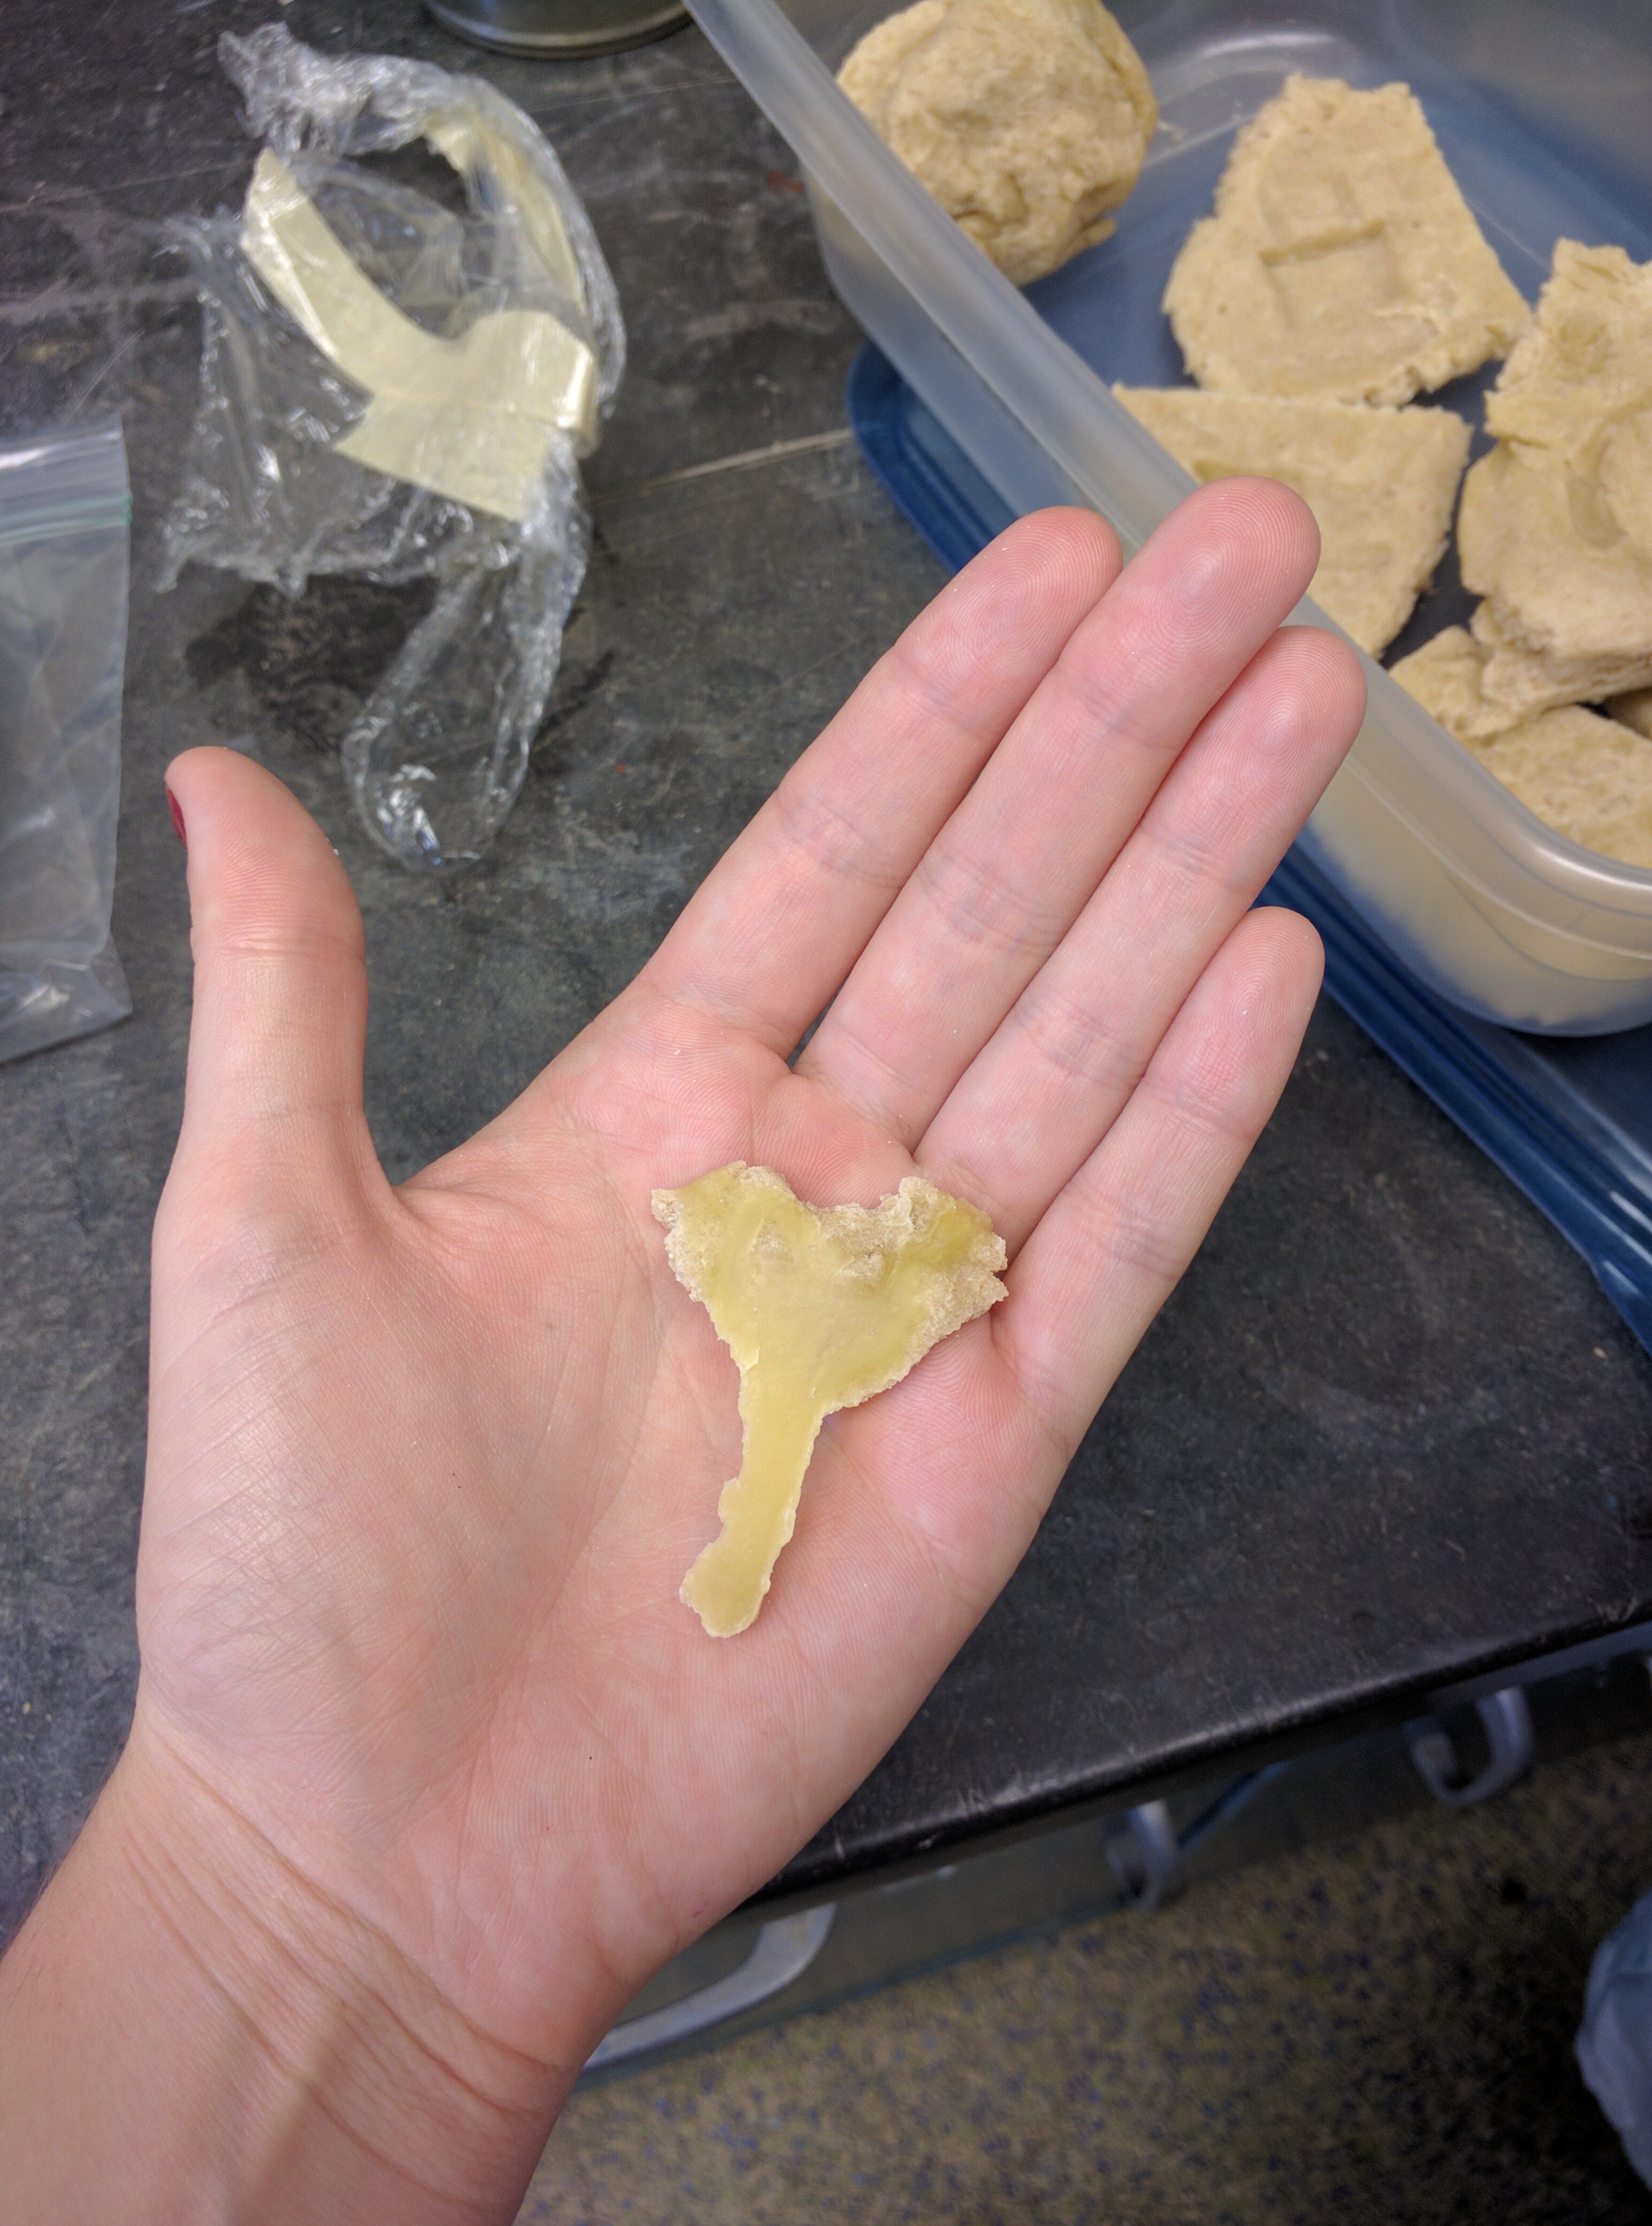
I returned to the lab to see how my molds were doing. The wax mold had been soaking in water since Monday, so when I pulled it out the bread came away from the wax on its own. The mold looks better than I thought, with the underside (that which was in contact with the bread) looking quite detailed. The sulphur mold was hard to separate from the bread at first, but after removing an initial chunk, the smaller pieces came away quite easily. The amount of detail was not as good as I had hoped. The 6 facets of the pencil bottom do come through, but none is very smooth, looking a bit misshapen. This may be due to the fact that when I pulled the pencil out it upset the initial impression made.
Overall, the outcome was far better than expected from just looking at my bread molds. It was also a good introduction to thinking within the environment of the lab, as we had to quickly accustom ourselves to the safety procedures and attitude required in the lab.
Protocol:
Ingredients:
-sourdough starter
-all-purpose white organic unbleached flour
-6 cups of room-temperature boiled tap water (amount needed to be specified)
Tools and Utensils:
-oven
-metal bowl
-4 bowls (2 for the initial feeding of the dough, one for mixing the 4 remaining cups, and one for water)
-cloth
-measuring cups
-wooden spoon
-aluminium oven-safe baking tray
-clean surface for kneading
Procedure:
Without measurements, this reconstruction will rely heavily on visual and other sensory cues. The most glaring assumption I will have to make is how much of the leaven to put with my quantity of flour. Given the clearer temporal cues given in Recipe 2, I have opted to follow that recipe. Rather than 6 bushels, I have opted for 6 cups, which I hope will produce a sufficient quantity of bread to make two molds. Here follows my rephrasing of the recipe in clear, separate steps:
- Wash hands and surfaces
- Measure 6 cups of all-purpose flour
- At 8 pm, knead ½ a cup of sourdough into 1 cup of flour and ½ cup of water into a bowl
- Repeat this for the other half of sourdough
- Cover both batches lightly with the cloth and allow the dough to rise a little, checking it every hour or so for progress
- When it has risen, knead another 1 cup of flour and ½ cup of water into both sets of the dough
- Let the dough rise overnight covered lightly with the cloth but left outside the fridge somewhere warm, such as on top of the refrigerator
- Boil enough water to have 6 cups left, and leave it to cool outside overnight
- At 8 am, add in the remaining 4 cups into one of the two batches, leaving the other batch for later use
- Knead the dough and flour with moderate amounts of the boiled water (what that amounts to will be determined as the step is carried out)
- Place this dough in a bowl sprinkled with flour
- Sprinkle flour on top of the dough in the bowl
- Flip the dough onto a baking tray sprinkled with flour to avoid sticking
- Let the dough rise again
- Preheat the oven to 350 degrees
- Put the bread in the oven, checking very regularly
- Take the bread out of the oven when a crust has formed
- Cut it open, let cool a little and scoop out the mold
- Shape the mie into a dense mold, and press object into it
- Leave this one-sided mold to cool
- Take two more chunks of mie, squeeze them together into mold and fit them around the object
- Separate them again such that each chunk forms one half of a two-sided mold
- Leave the two-sided mold to cool
Assumptions made:
- I assumed the dough is left to rise outside, and not in a fridge
- I decided 8 am would suitably qualify as “the next morning early,” as I needed to give my dough enough time to rise in between feeding and making the bread but also wanted to follow the instructions and make the dough in the morning.
- To “temper moderately,” I set out a bowl of 3 cups water in which I dipped my fingers occasionally while kneading, being very conservative and relying on cues such as texture and stickiness to guide my use of water
- I have assumed “when ‘tis ready” to mean when the dough has again risen (after having added the last of the flour)
- As no baking instructions were given, I followed Ken Albala’s cue to set the oven to 350 degrees Fahrenheit
Adjustments made:
- The amount of time I left the dough to rise was not specified. I ended up leaving it for three hours between cups 1 and 2 of flour, and 9 hours between that and the remainder of the 6 cups.
- The amount of water used to temper was not specified. I used ½ a cup for the first two cups. Then, I used 1cup with the remaining 4 cups.
- The amount of time the bread needs to bake was not specified. I left it for around 40 minutes.
- As I wanted to play it safe, I baked my bread in 2 batches, one at 12:30 pm, and another at 1:10 pm to see if leaving the dough to rise more would affect the outcome.
Observations:
- Leaving the sourdough in the fridge over the week may have led it to enter a hibernation phase, which made it slower to reactivate when I fed it.
Reflection:
Baking bread has been a whirlwind. The activity felt akin to caring for a pet, given that the sourdough is alive. I spent most of the last 12 hours either thinking about the dough or observing, prodding, and caring for it. I was quite stressed about the reconstruction before starting it, but found the actual activities to be very soothing. I was very worried about having no experience with baking bread, but did not find this to be such an issue. I found myself naturally 'knowing' when the dough was ready to rest, when it had risen enough, when it was cooked. And I usually always second-guess myself, so something about the nature of the bread (its plasticity? its elasticity?) made it seem very flexible. I felt as though any mistake I should make could be easily worked out.